Free printable
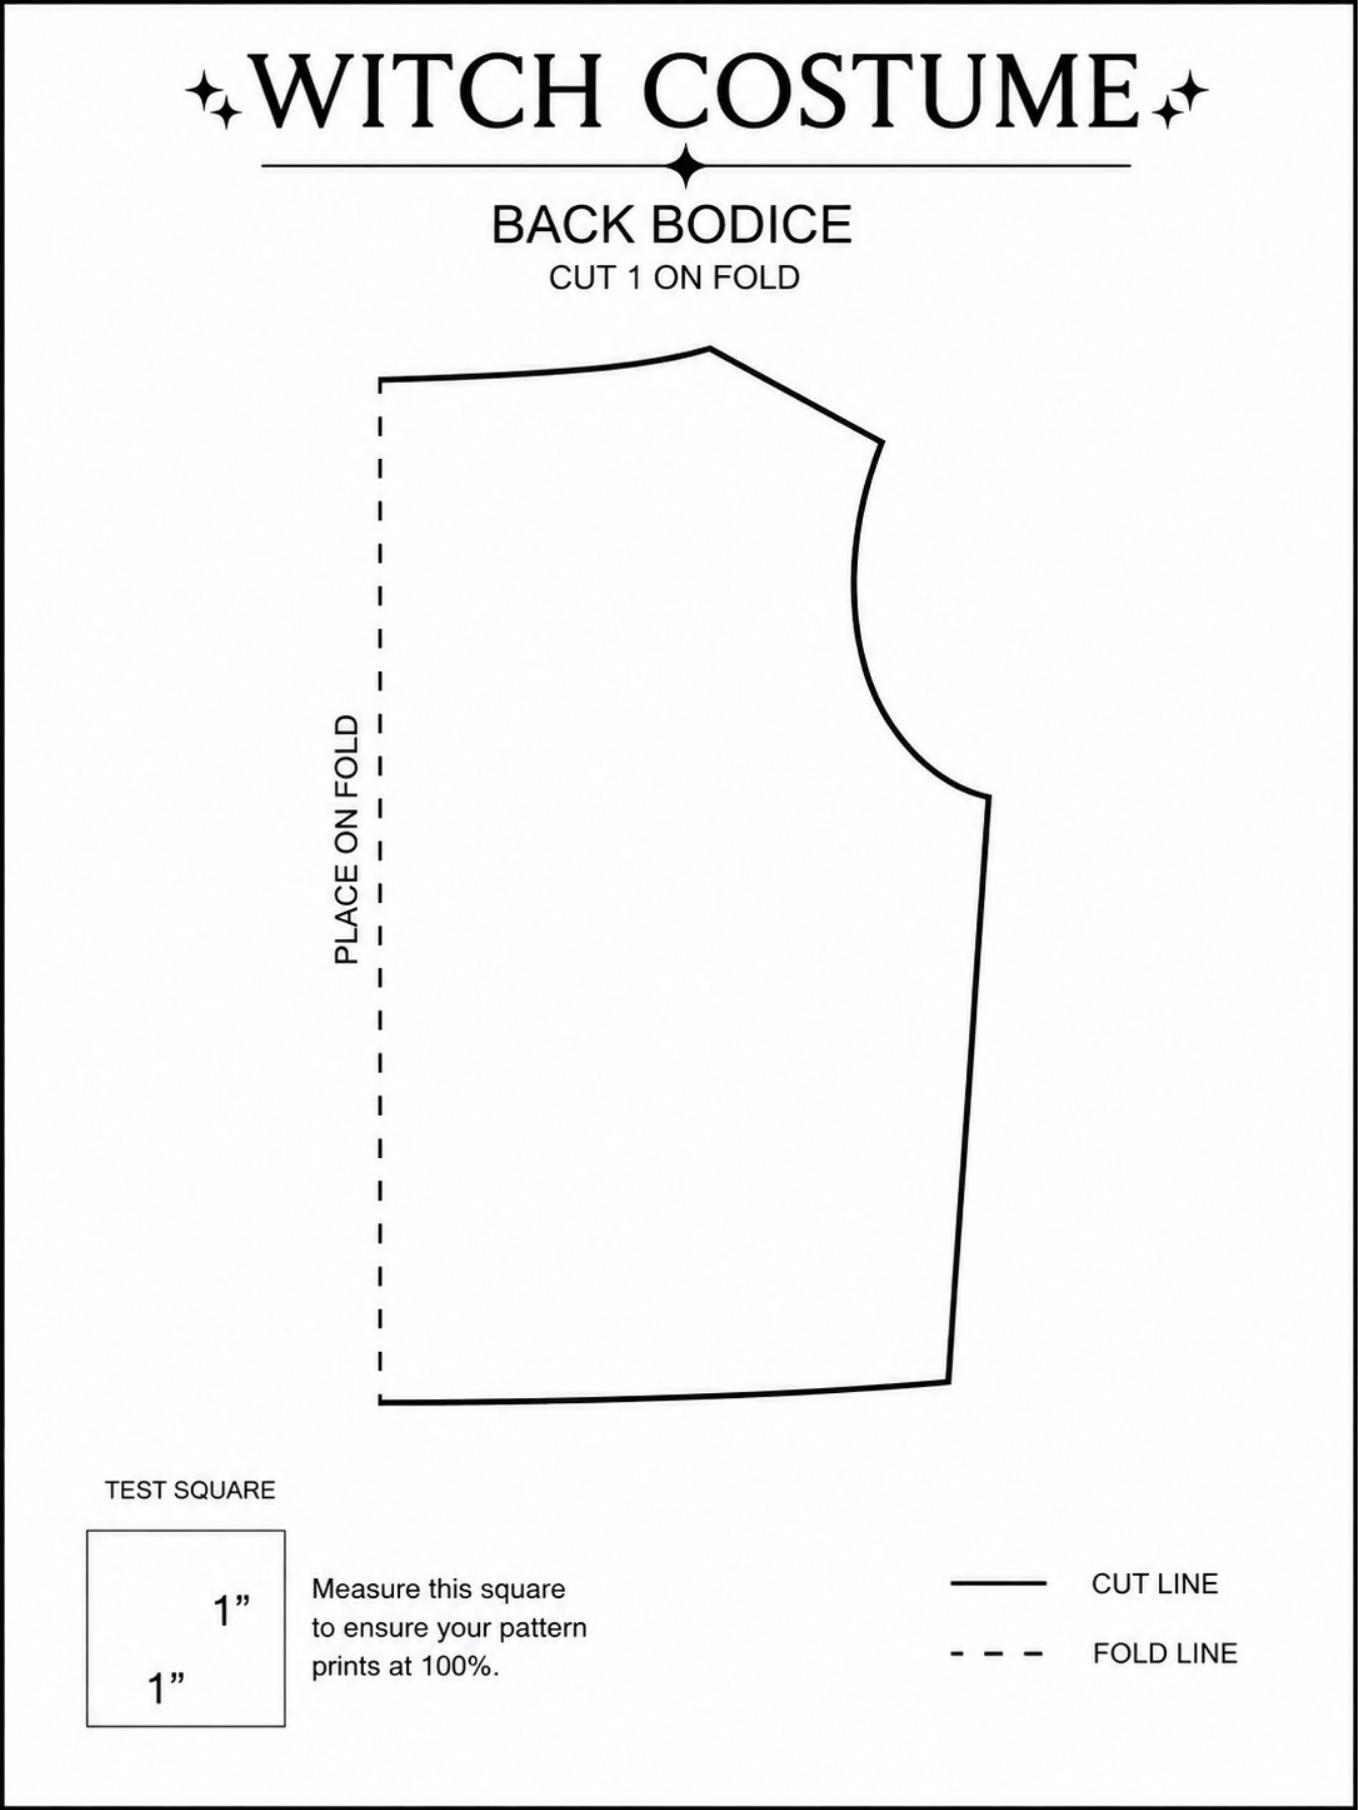
The six costume pattern templates
Every pattern piece we drafted for this costume — bodice front and back, circle skirt, puff sleeve, hat cone and hat brim — printable at home on letter paper.
Get the free pattern templates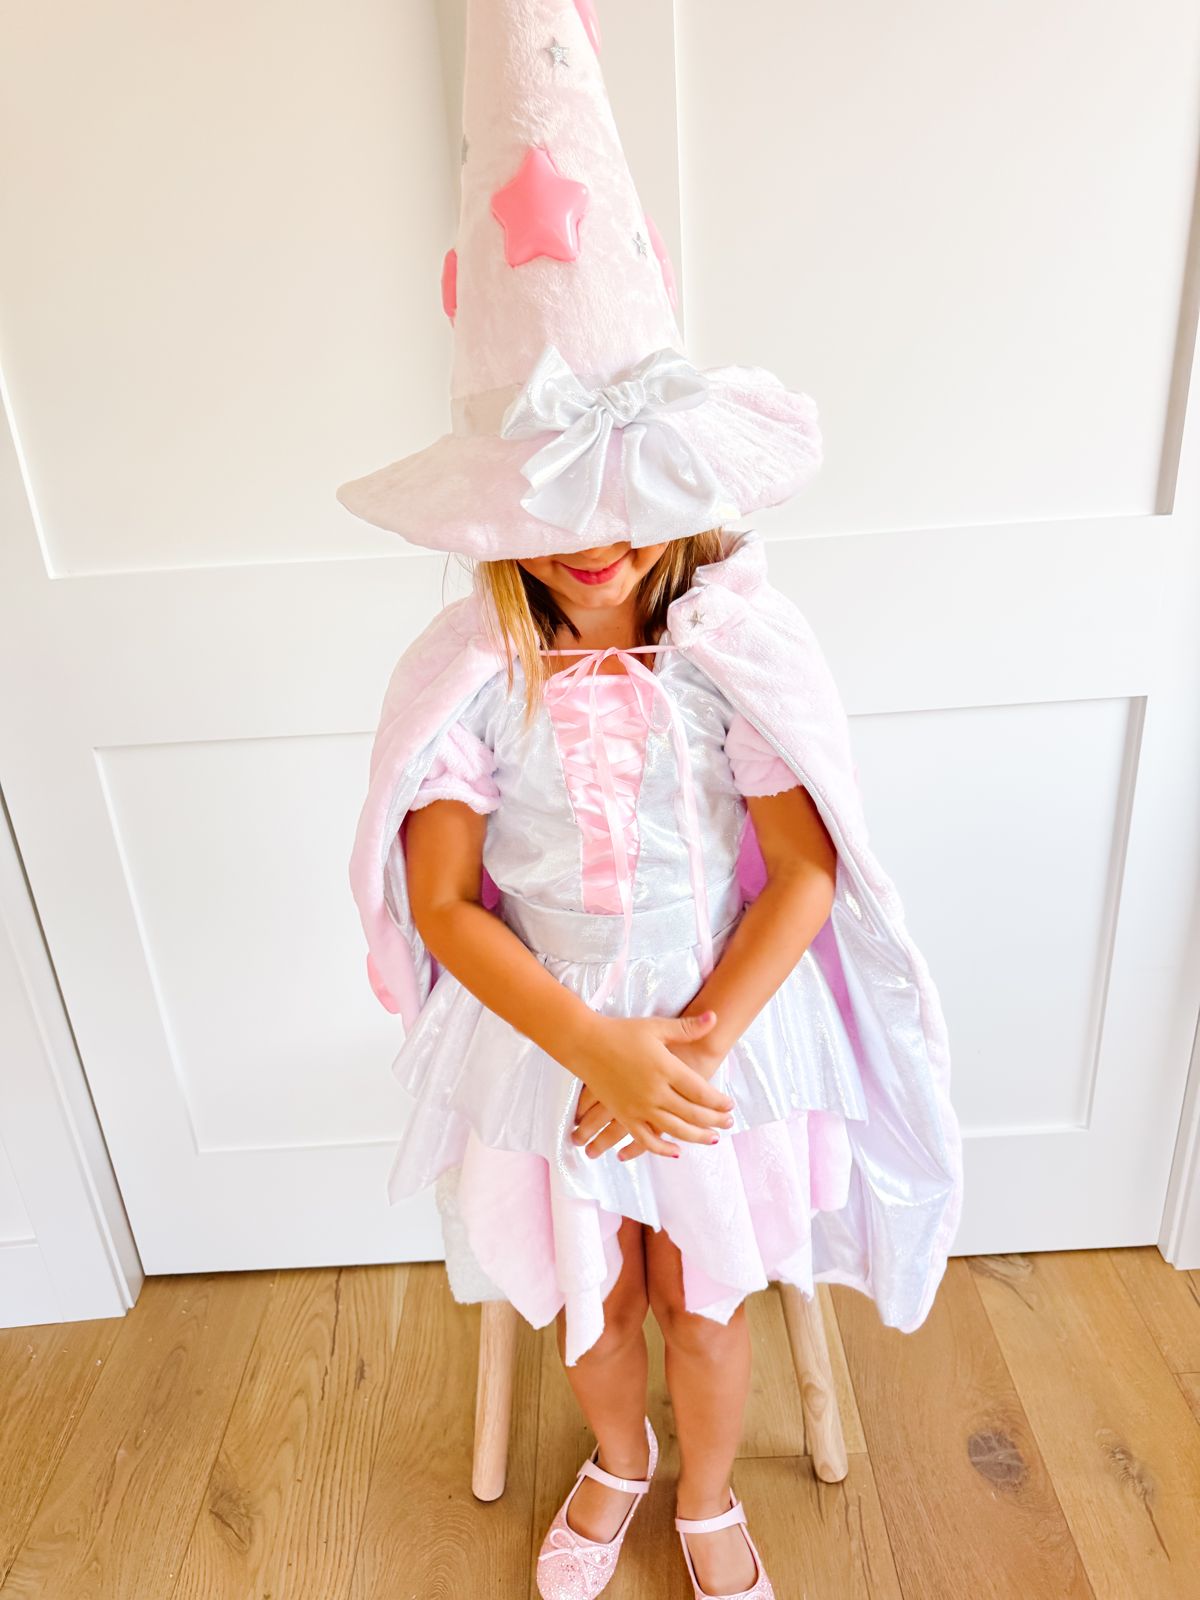
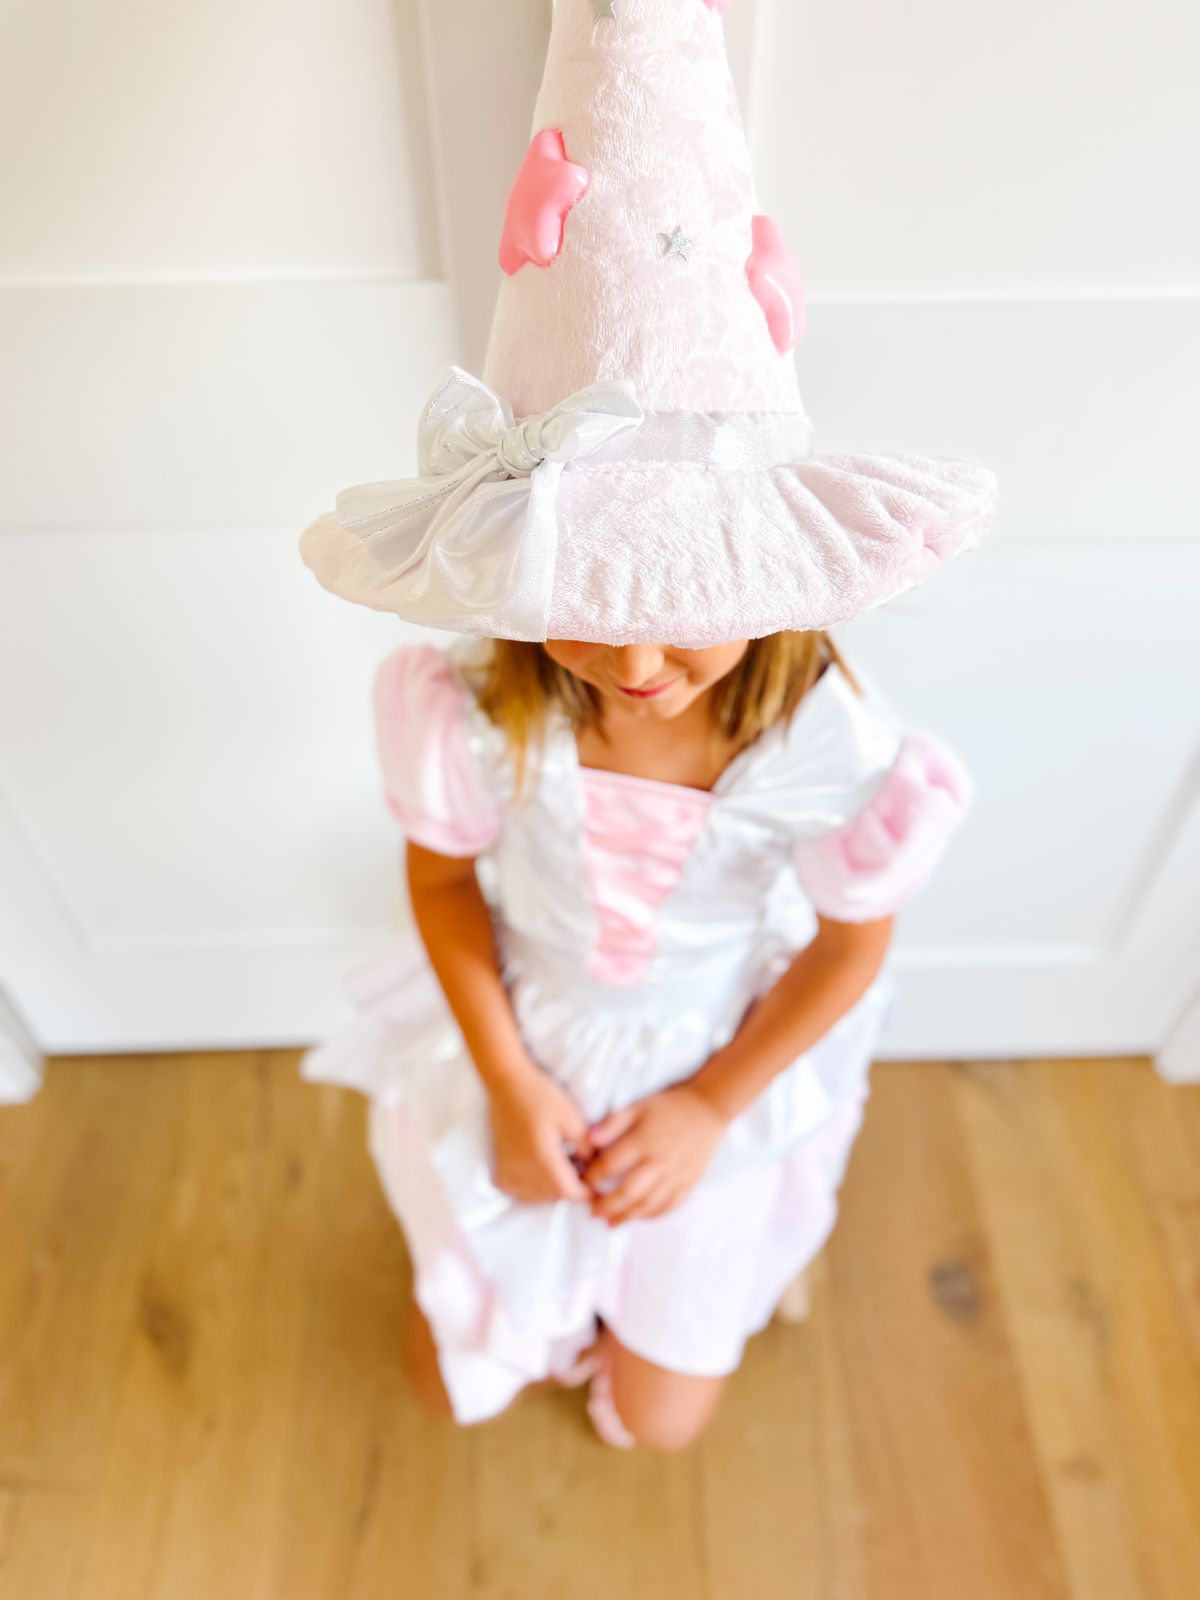
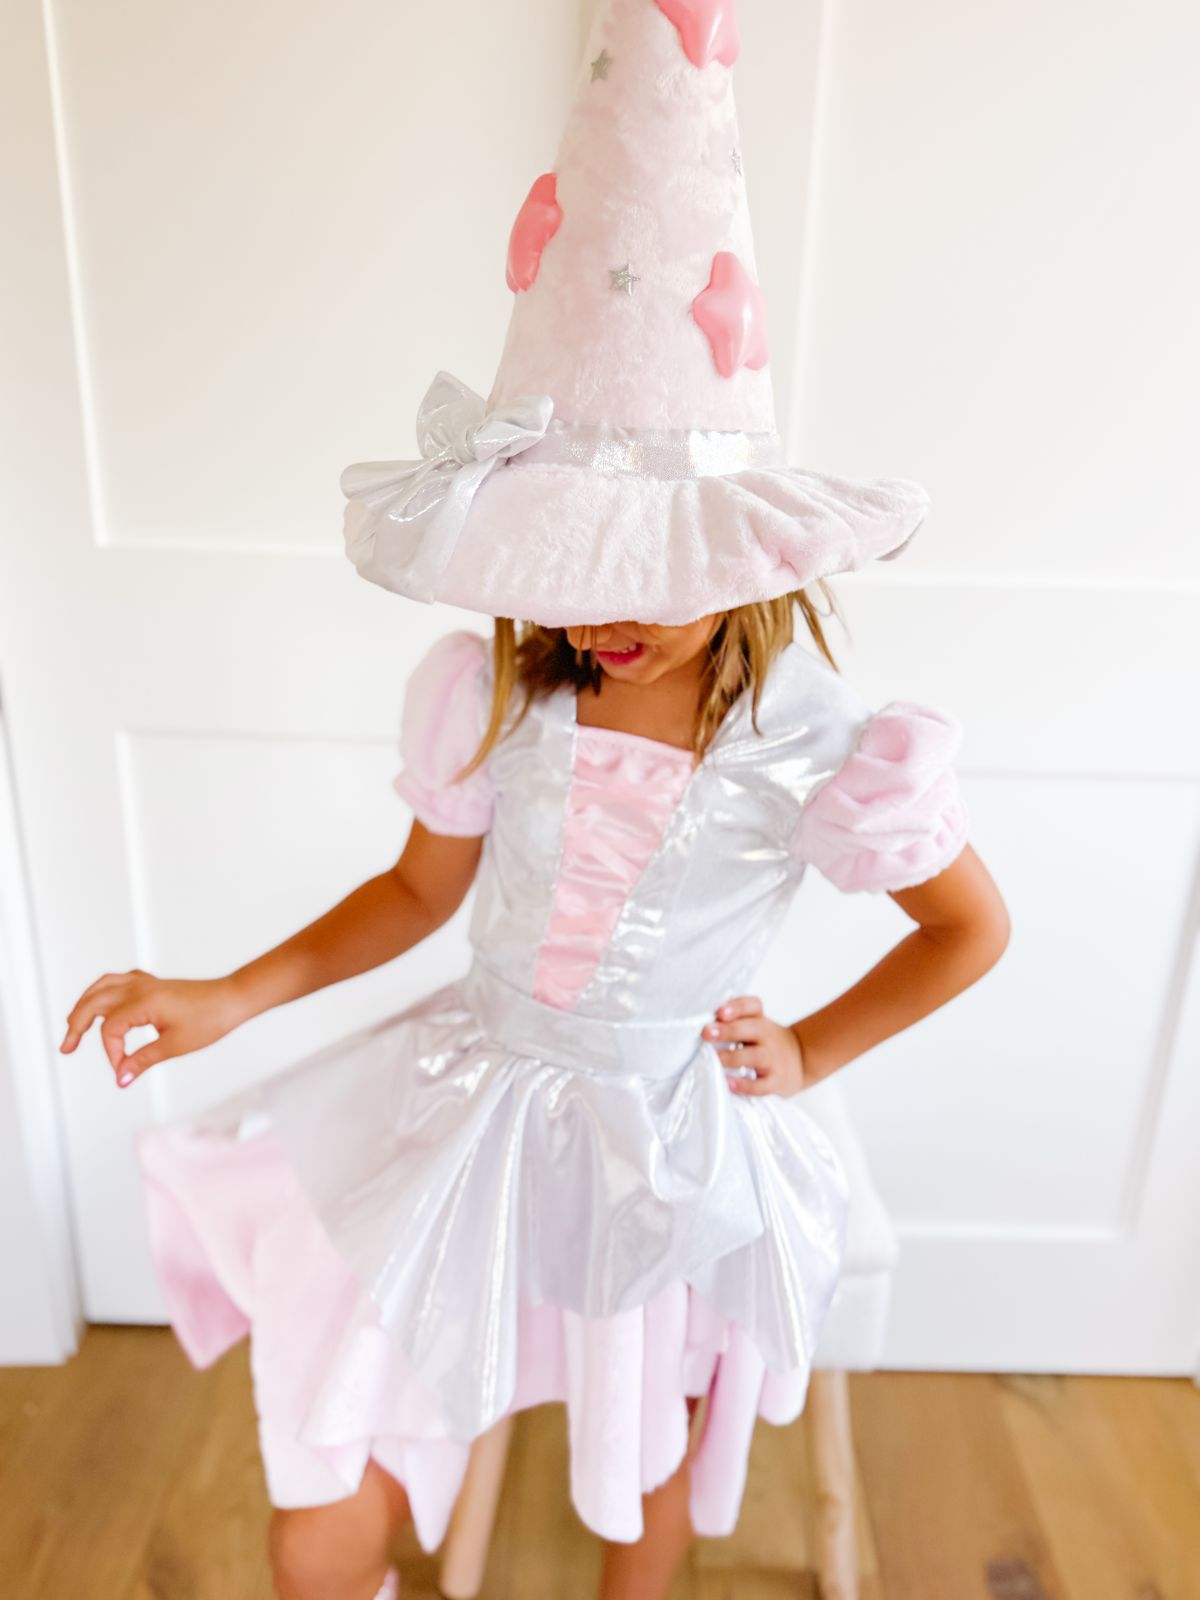
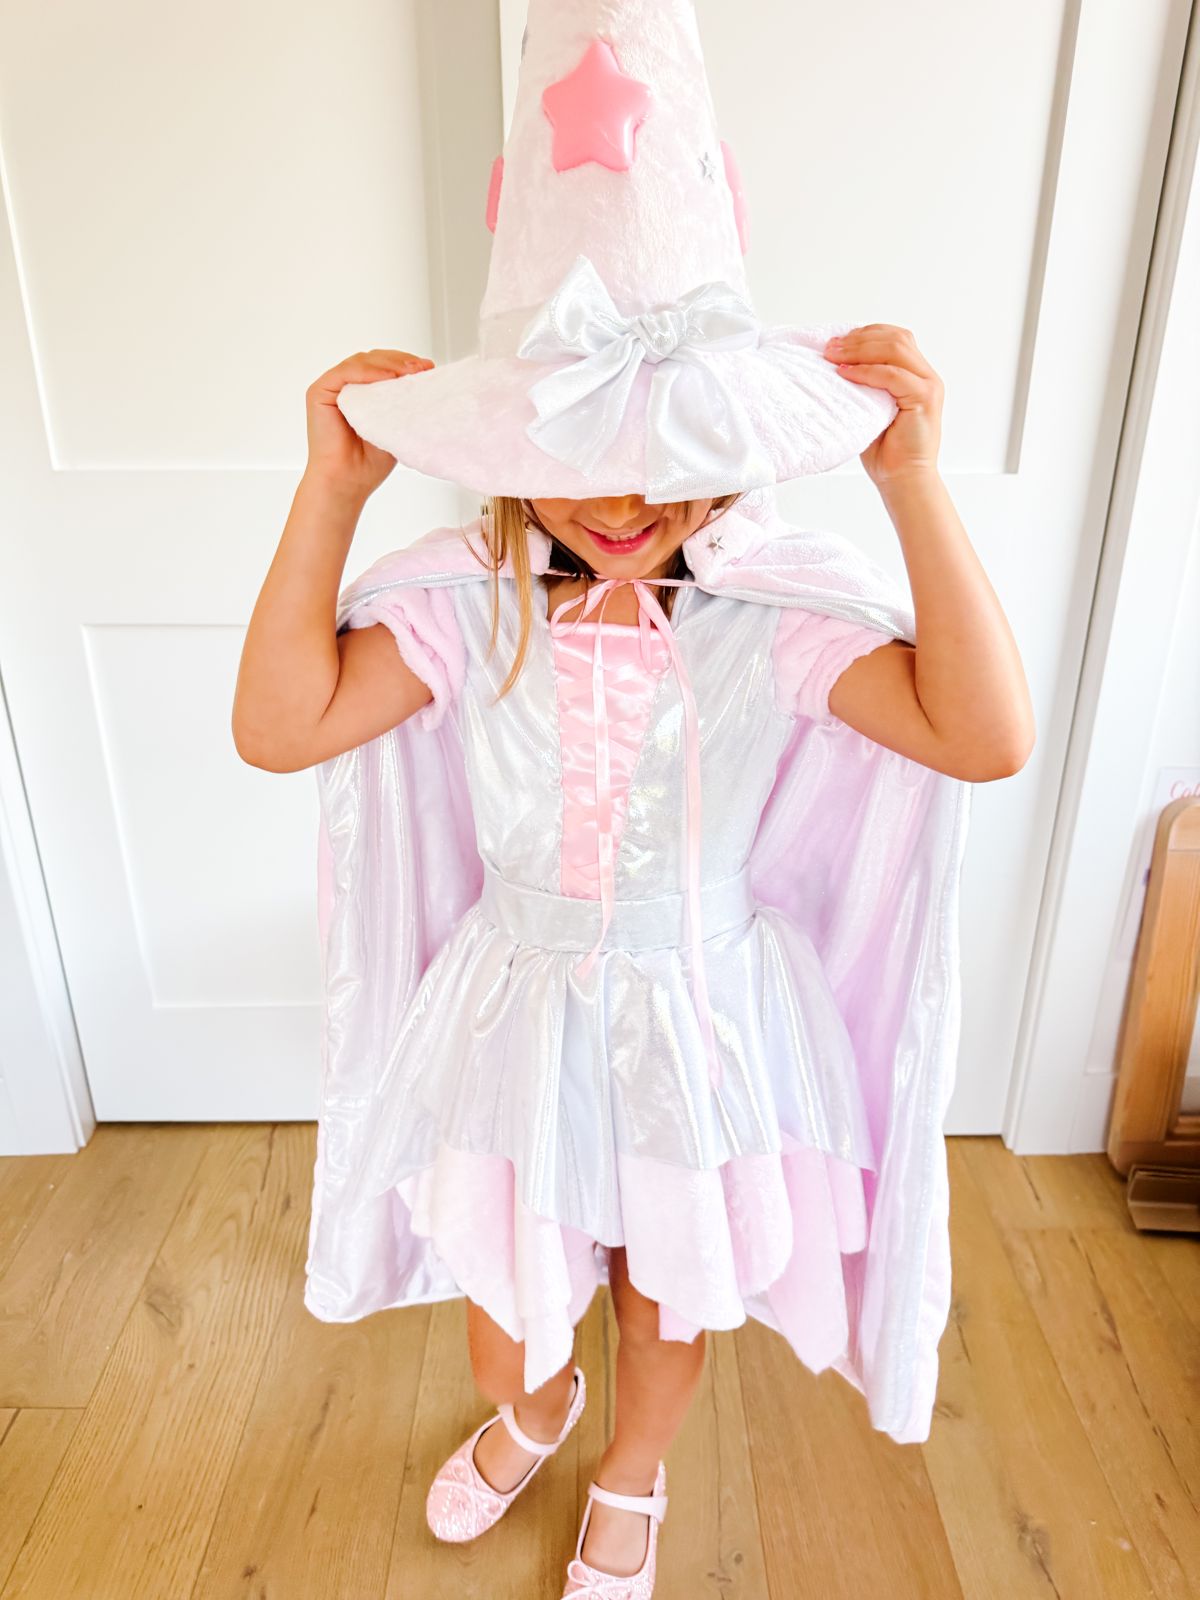
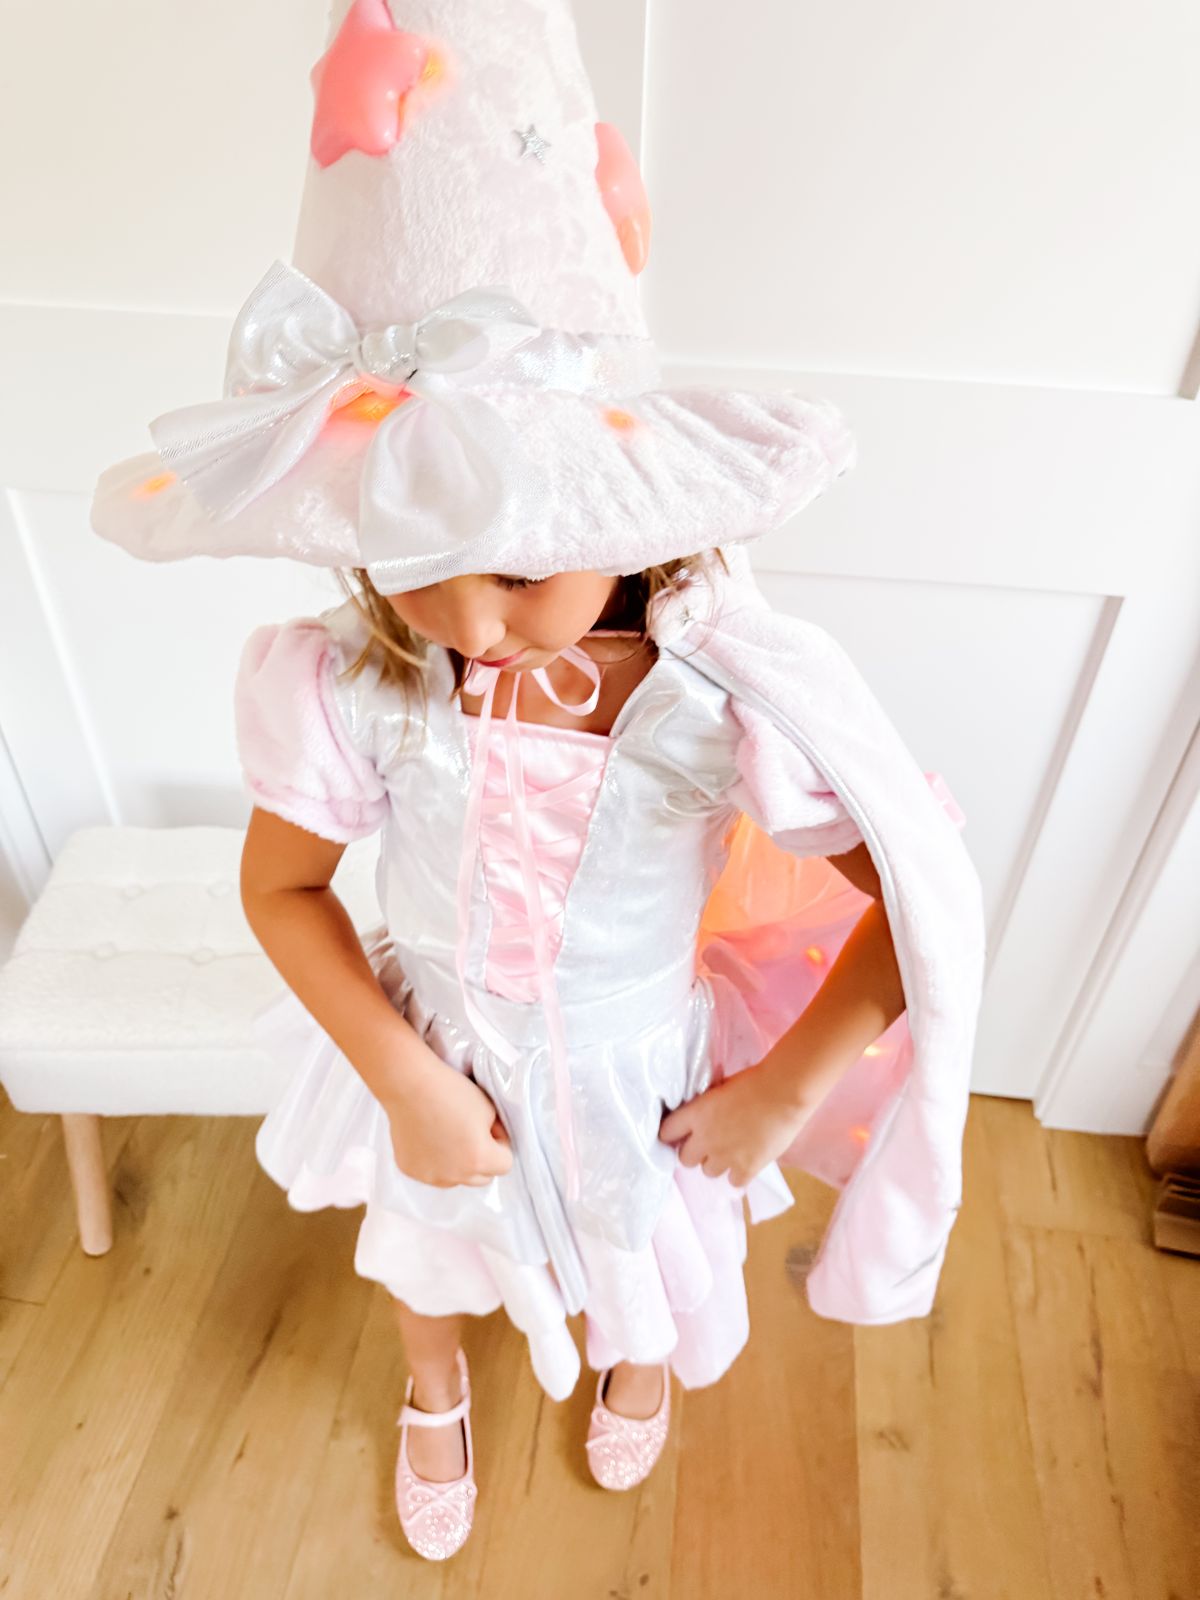
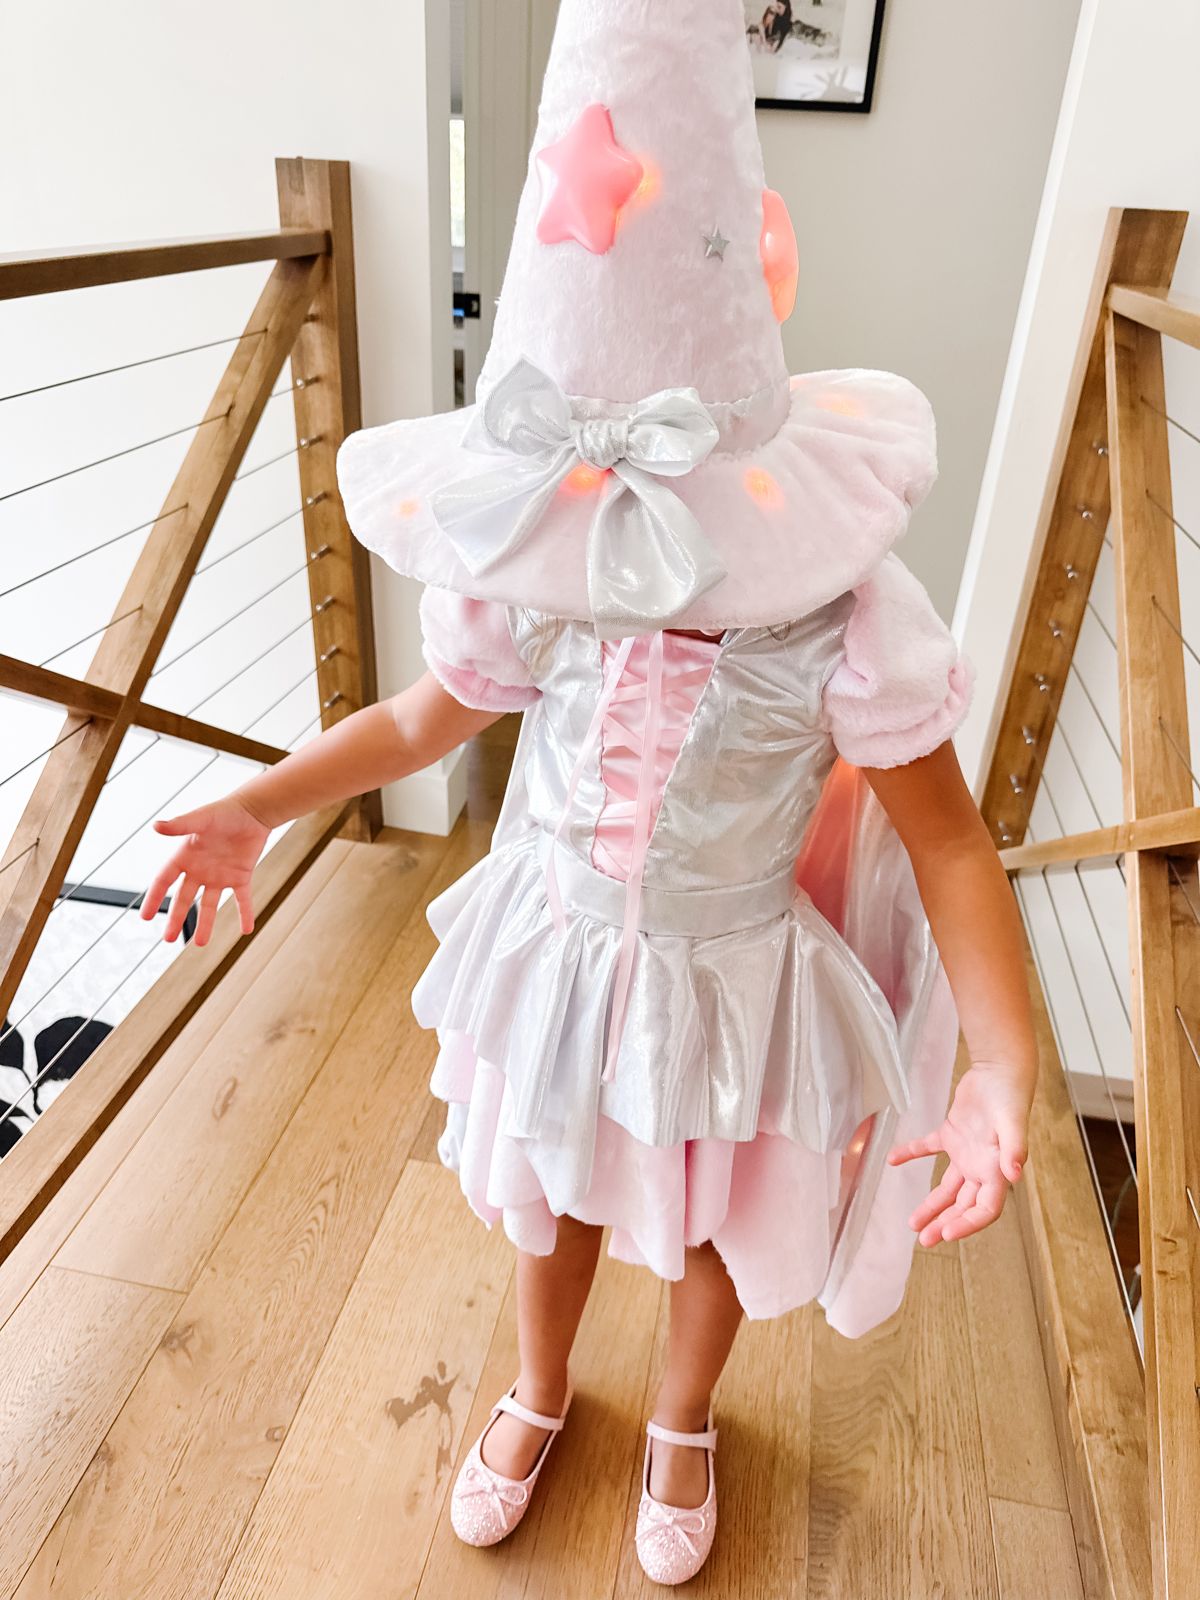
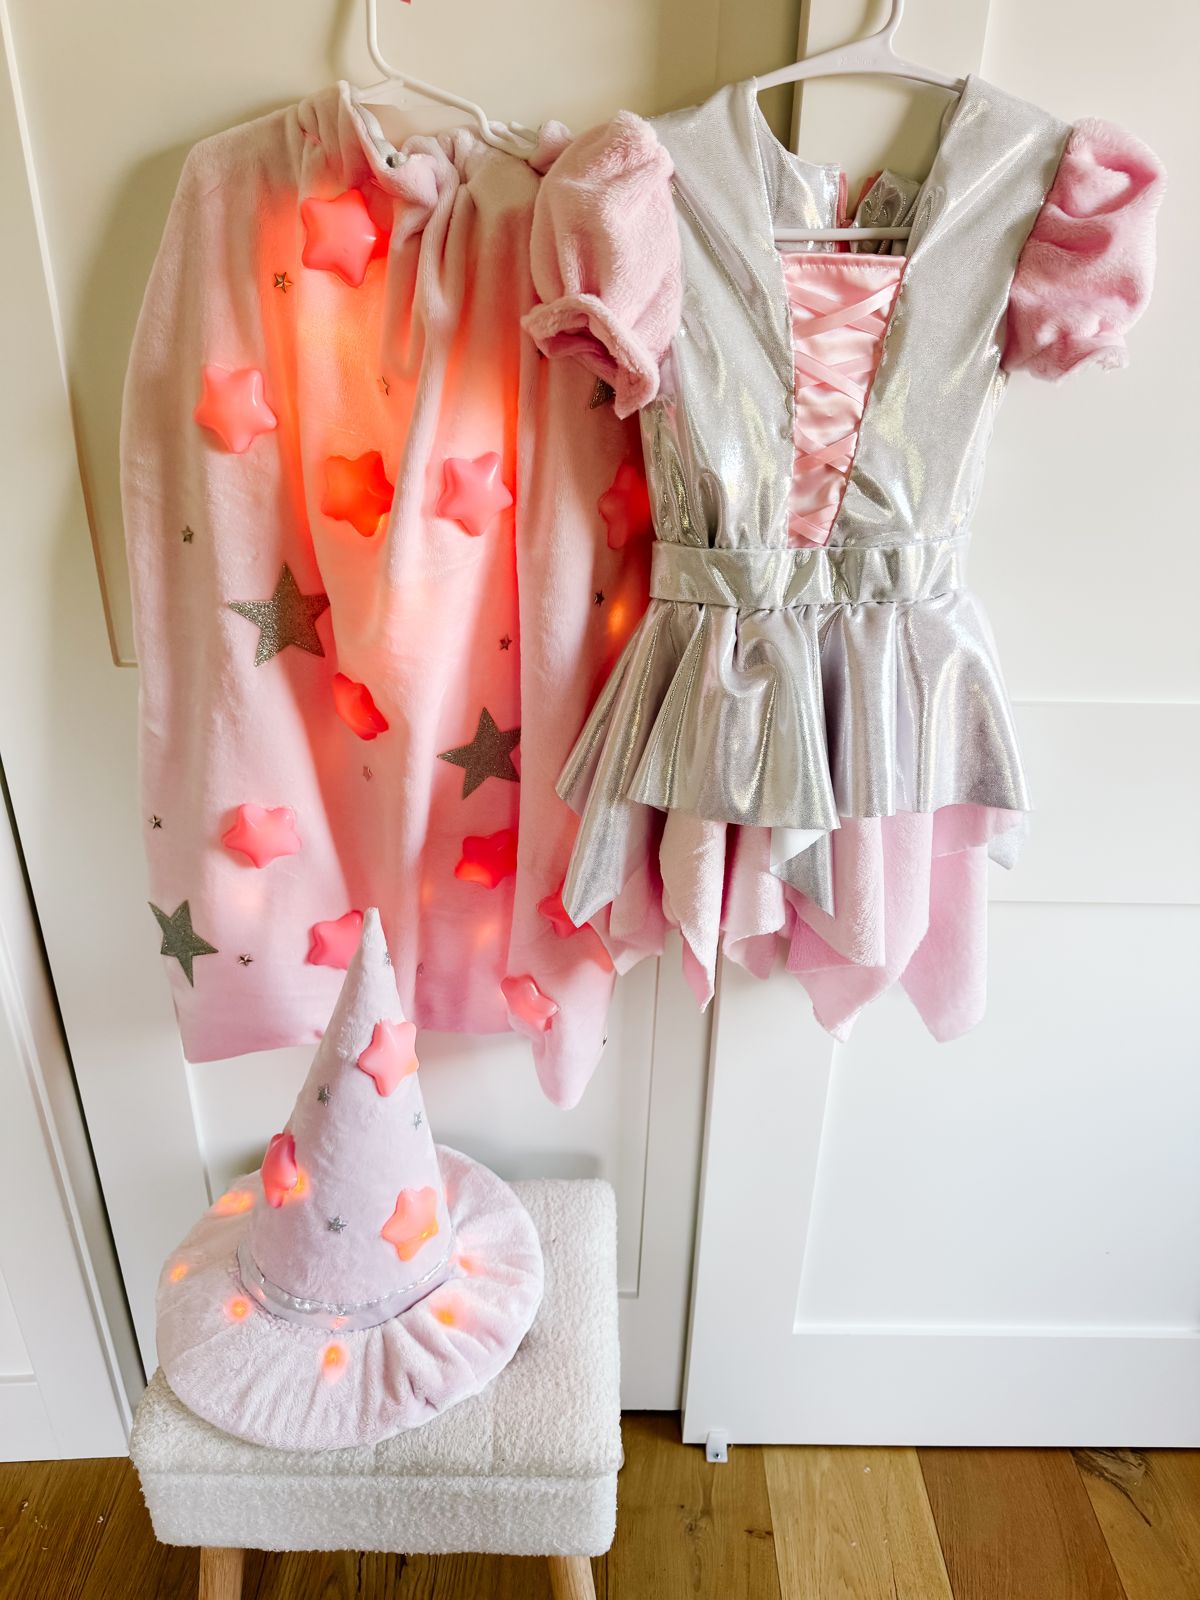
A handmade pink witch costume in crushed velvet and chiffon with silver sparkle, satin ribbon lacing, puff sleeves and a light-up hat — magical and soft rather than spooky.
Every angle, before you read a single instruction.
we wanted a witch who felt more fairy tale than fright night. this one is baby pink crushed velvet and floaty chiffon, with a silver sparkle bodice laced with satin ribbon, puffed sleeves, a soft flopping hat and tiny fairy lights hidden inside it. it took a few evenings at the sewing machine — it is a real sewing project, not a no-sew hack — but every piece is drafted from simple shapes you can size to your own child.
Every pattern piece we drafted for this costume — bodice front and back, circle skirt, puff sleeve, hat cone and hat brim — printable at home on letter paper.
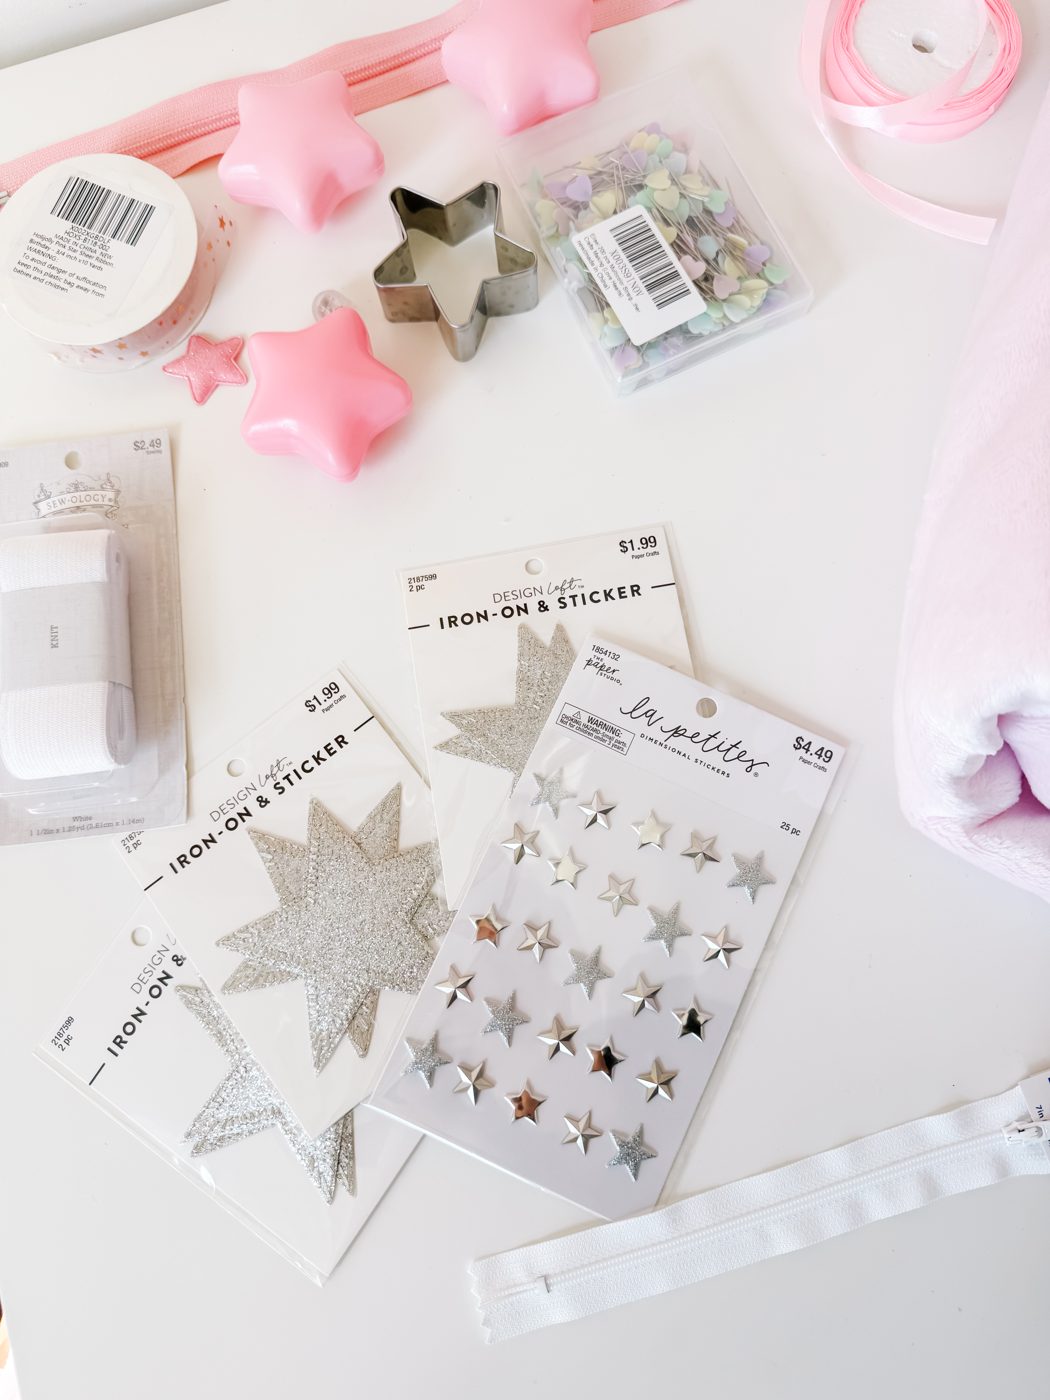
Get the free pattern templatesThe exact products we used, if you'd rather not hunt them down.


Some links are affiliate links. We only share things we actually use.
Follow along at your own pace.
Start with four measurements: chest, waist, back length (nape to waist) and arm length. Every piece in this costume is drafted to those numbers rather than to a commercial size, so write them down and keep them next to your paper. Decide now how long you want the skirt and cape, because that decides how much fabric you buy.
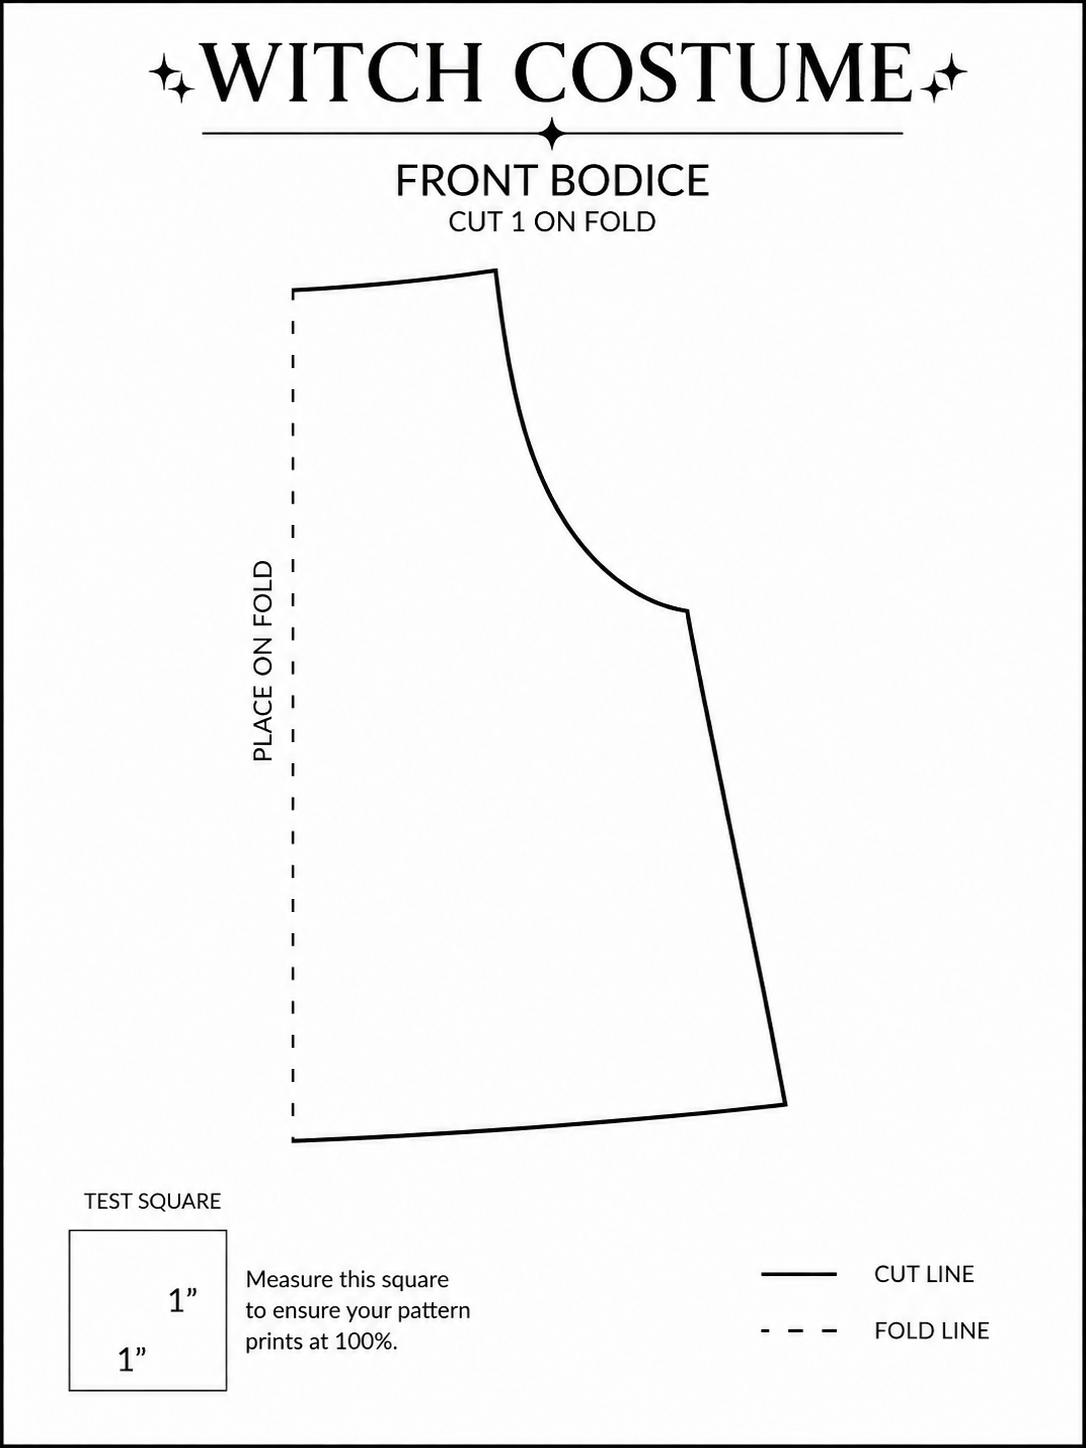
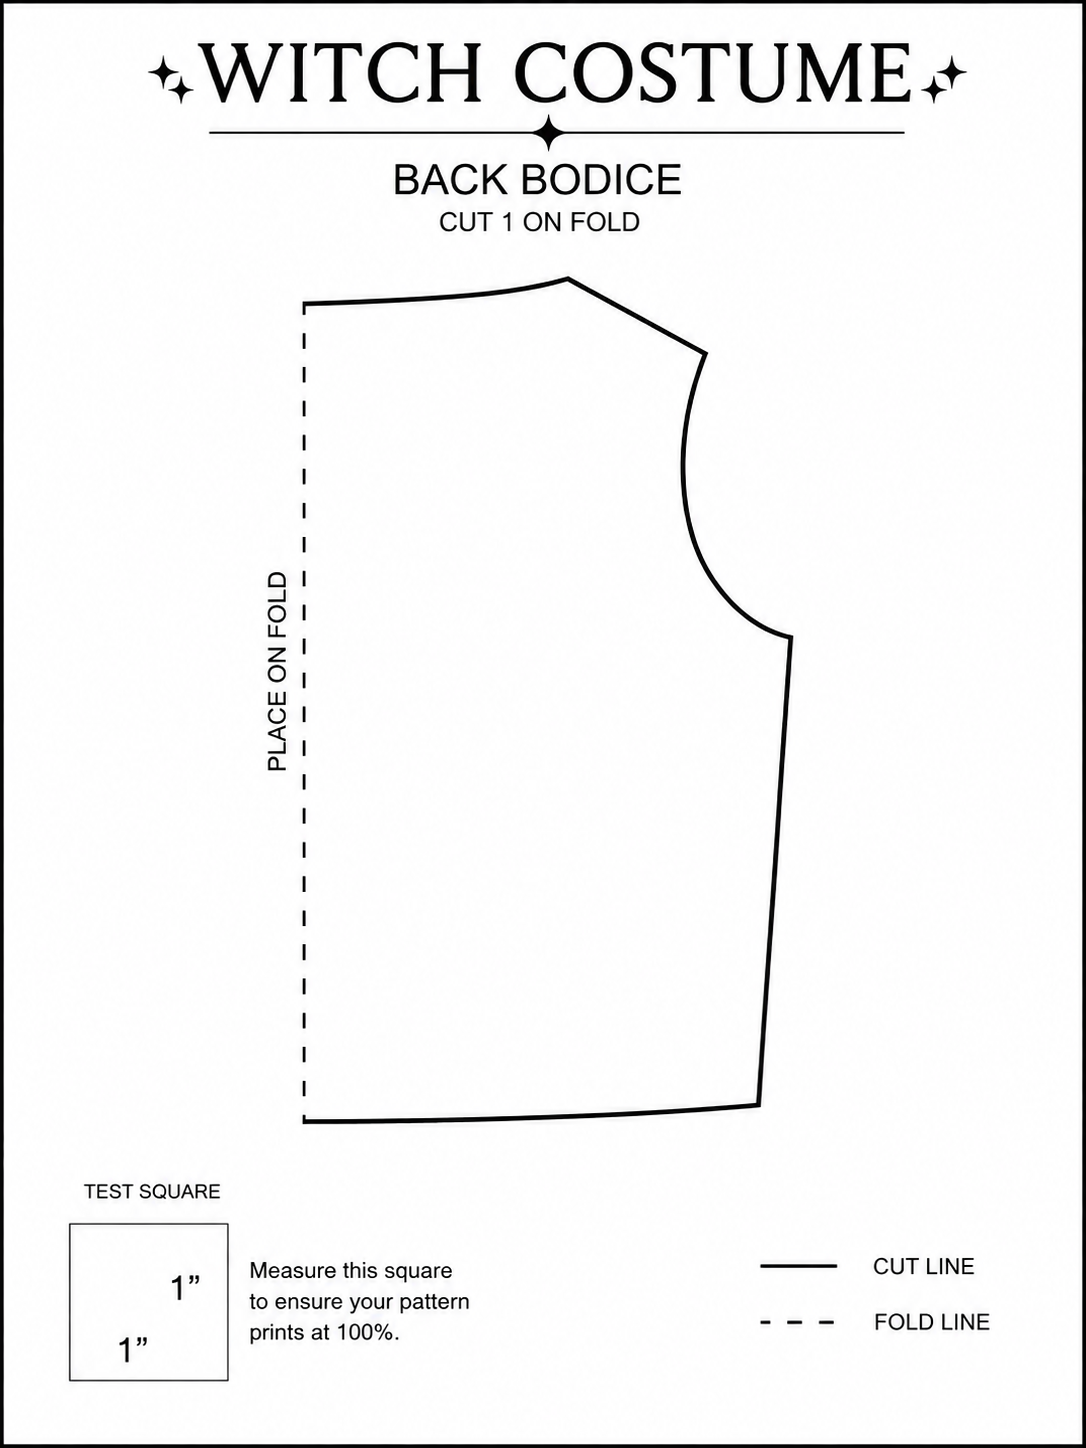
Draw the front and back bodice on paper or cardstock using the chest, waist and back-length measurements, adding a little ease so it slips on over a t-shirt. Cut the paper pieces out and hold them against your child before you touch any fabric — paper is cheap, crushed velvet is not.
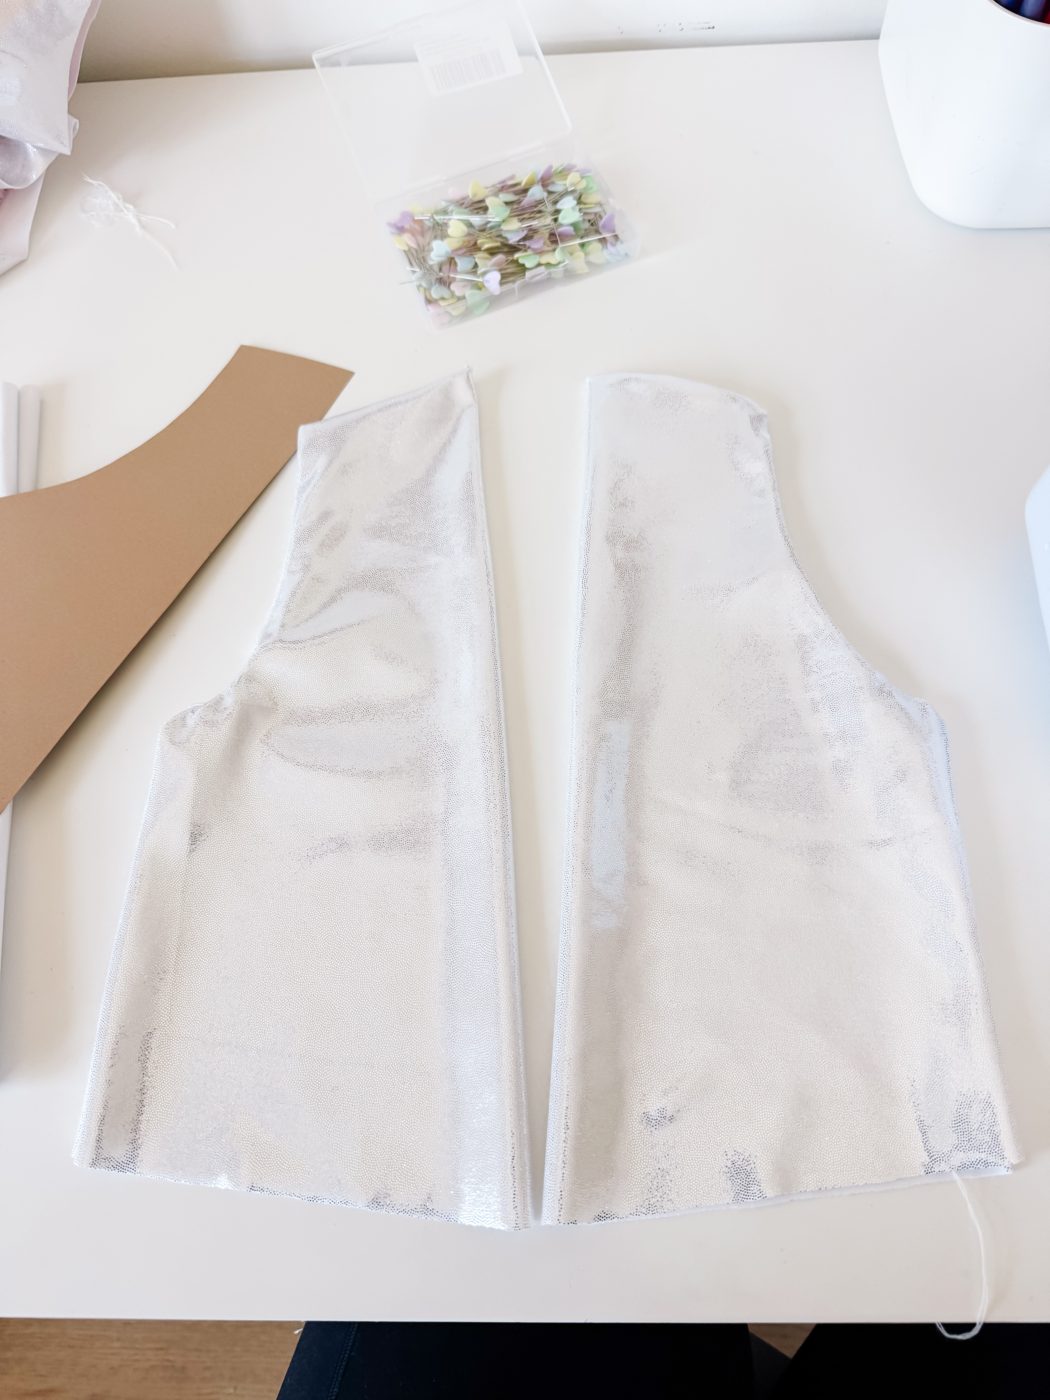
Cut the bodice front and back from the silver sparkle fabric, then cut the same pieces again in baby pink sateen for the lining. Cut the narrow centre-front panel in sateen too — that is the piece the ribbon lacing will sit on.
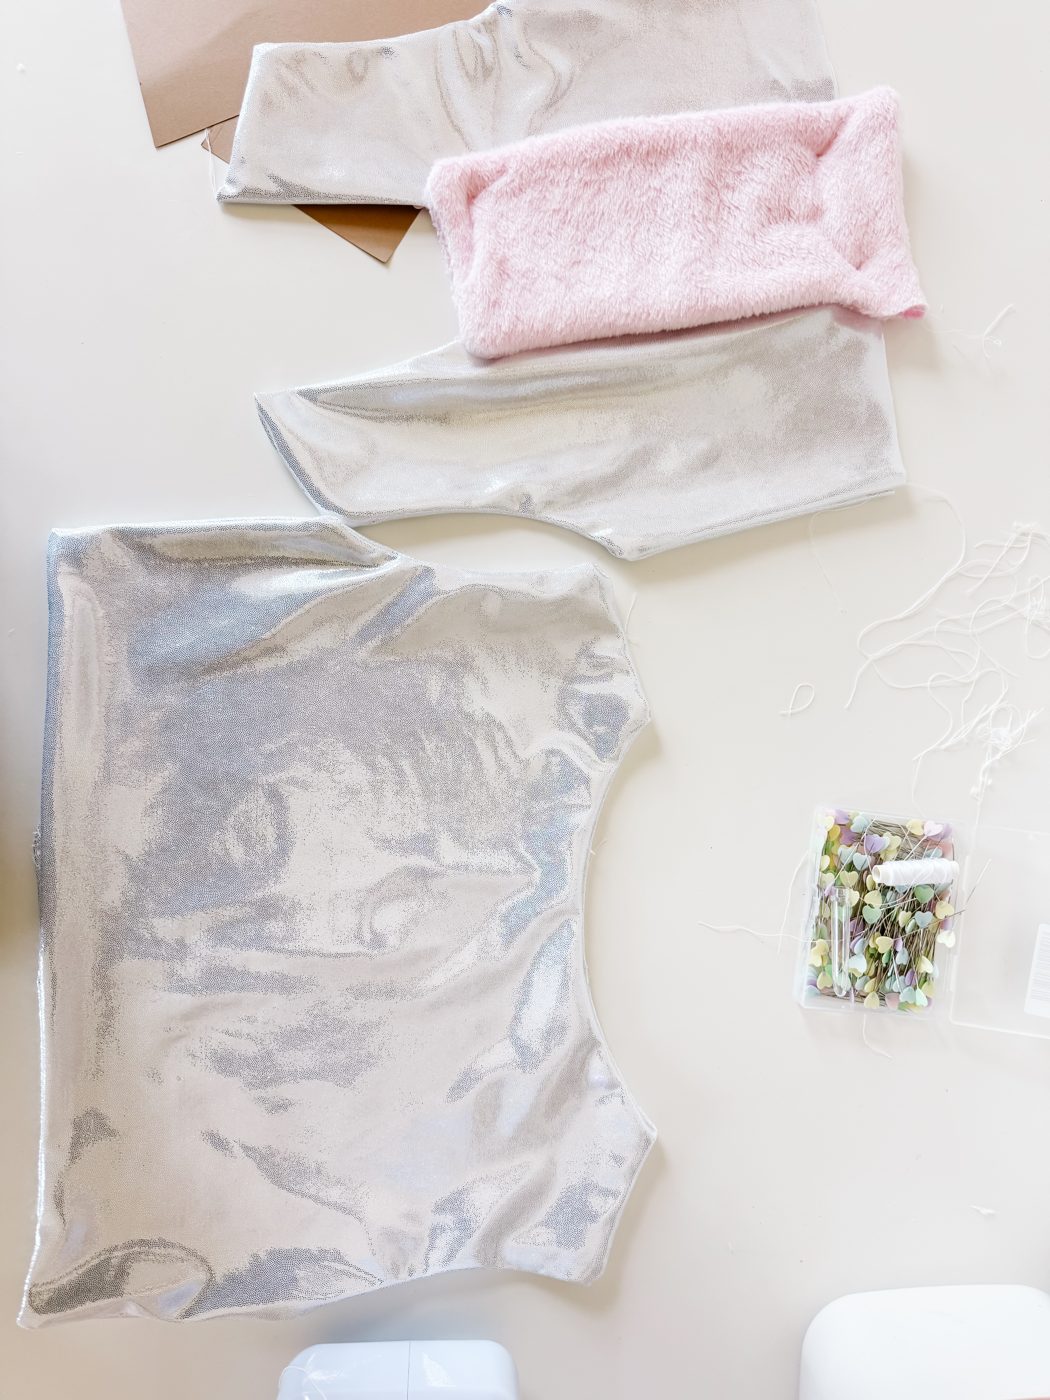
Join the shoulder and side seams, then sew the lining to the outer at the neckline and armholes so all the raw edges disappear inside. Turn it right side out and press gently — sparkle fabric does not like a hot iron, so use a low setting and a pressing cloth.
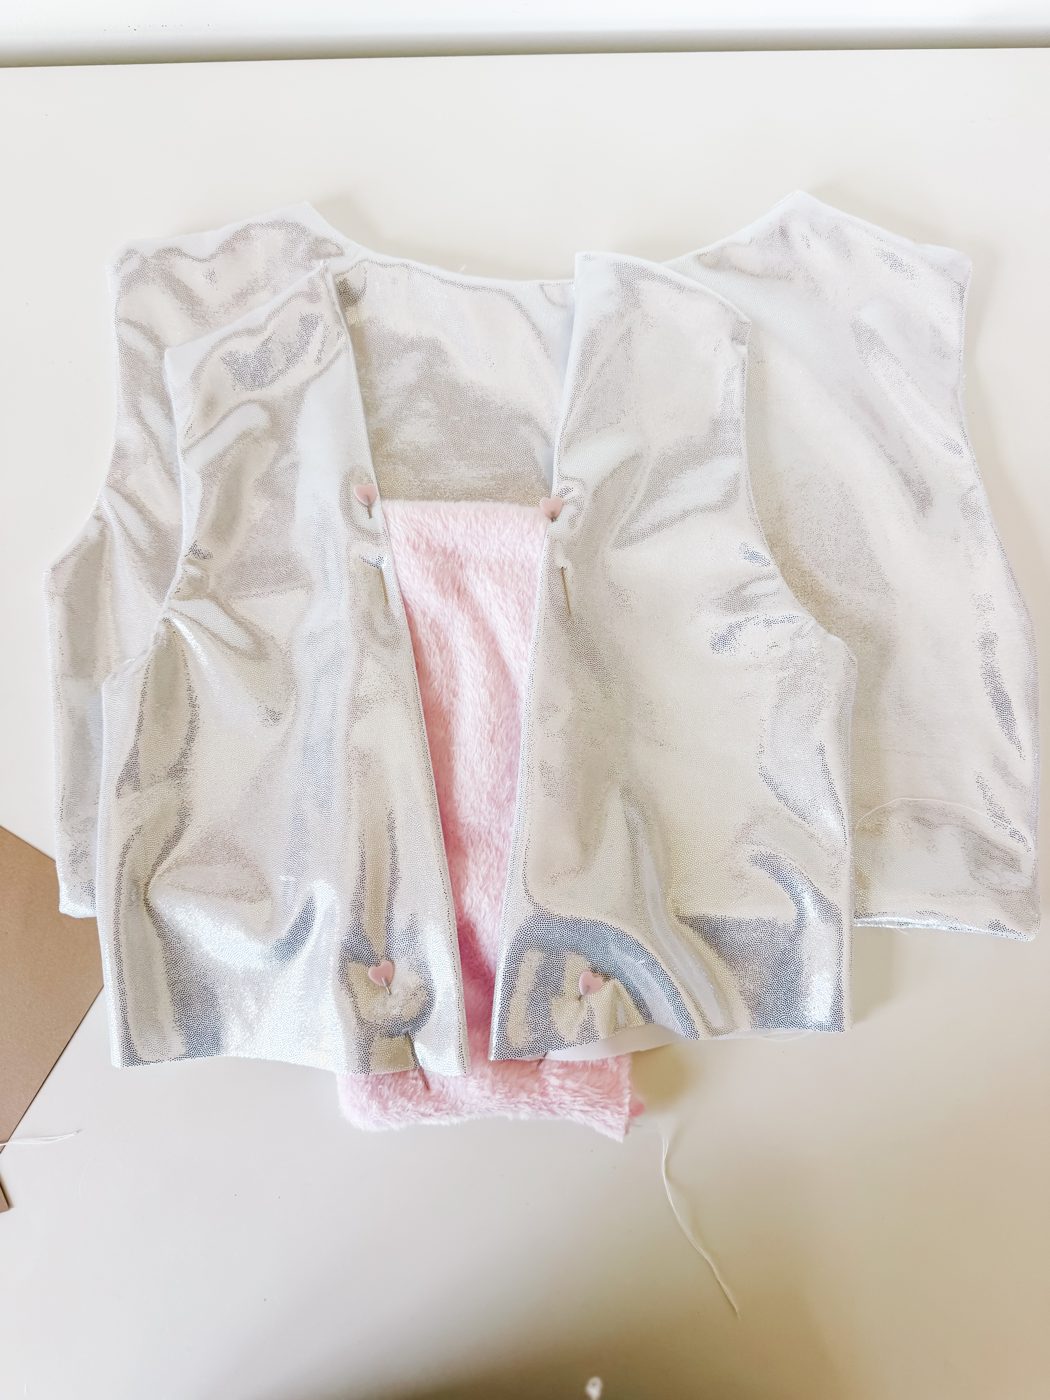
The pink sateen centre panel is criss-crossed with 3/8" pink satin ribbon to look like corset lacing. Lay the ribbon out first and adjust the spacing until it looks even, then stitch each end down at the side of the panel so nothing can be pulled loose. Seal the cut ribbon ends so they do not fray.
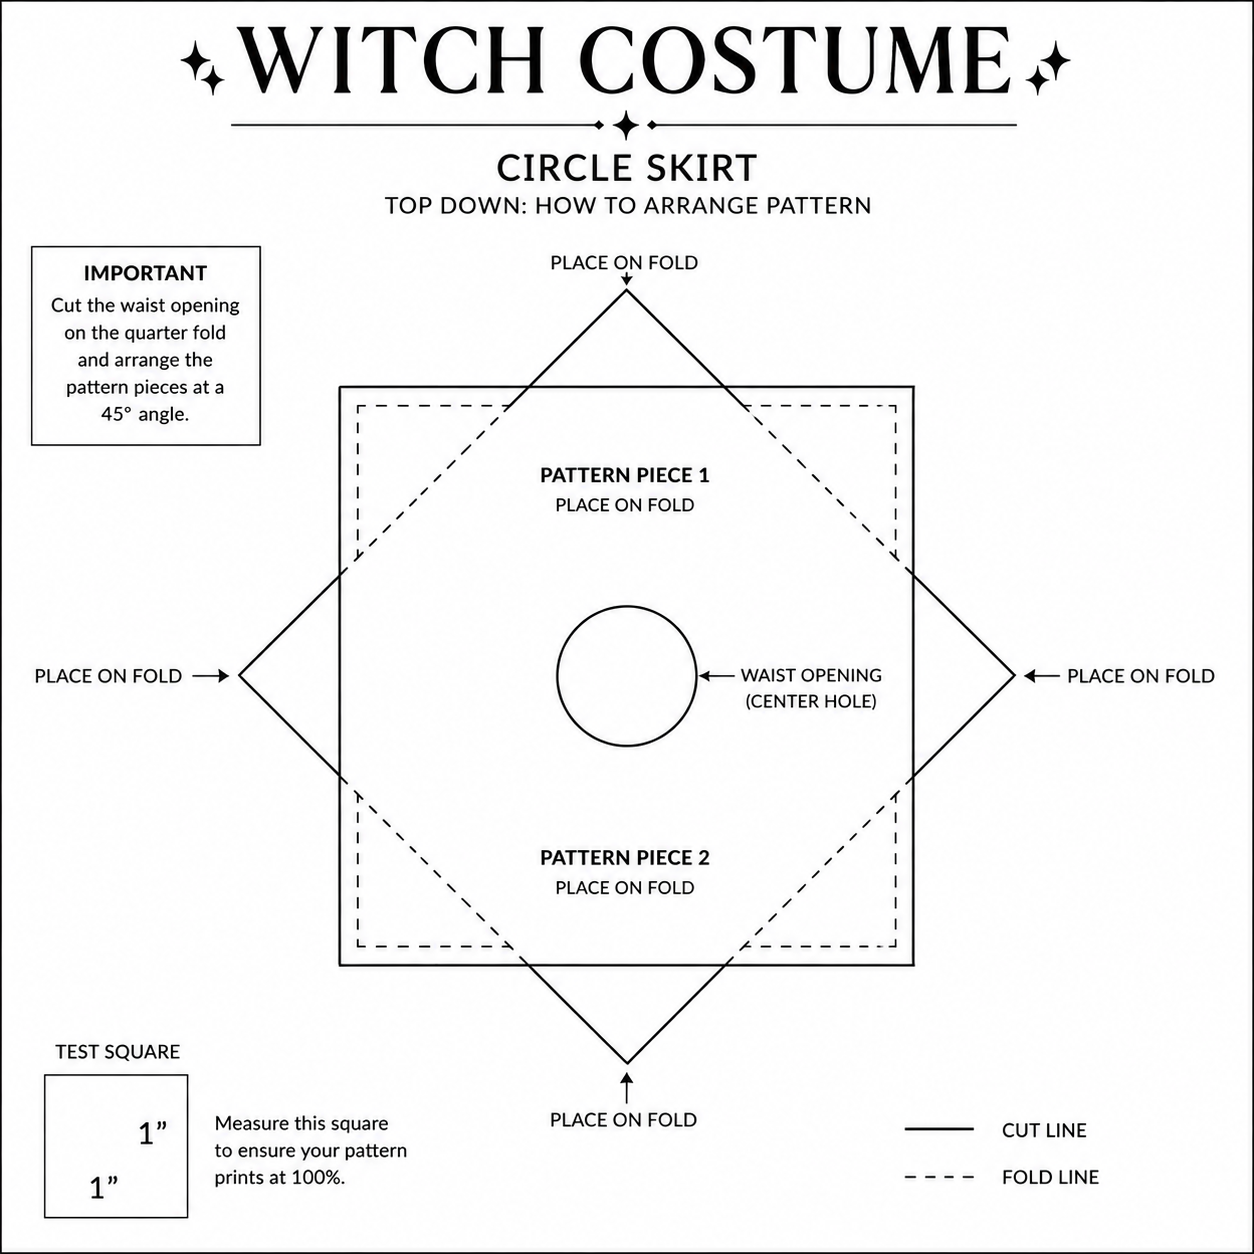
Fold your fabric into quarters, measure out from the folded corner to make the waist opening (based on your child's waist), then measure again from that curve to the hem length you chose. Cut one circle in silver sparkle and one in baby pink crushed velvet.
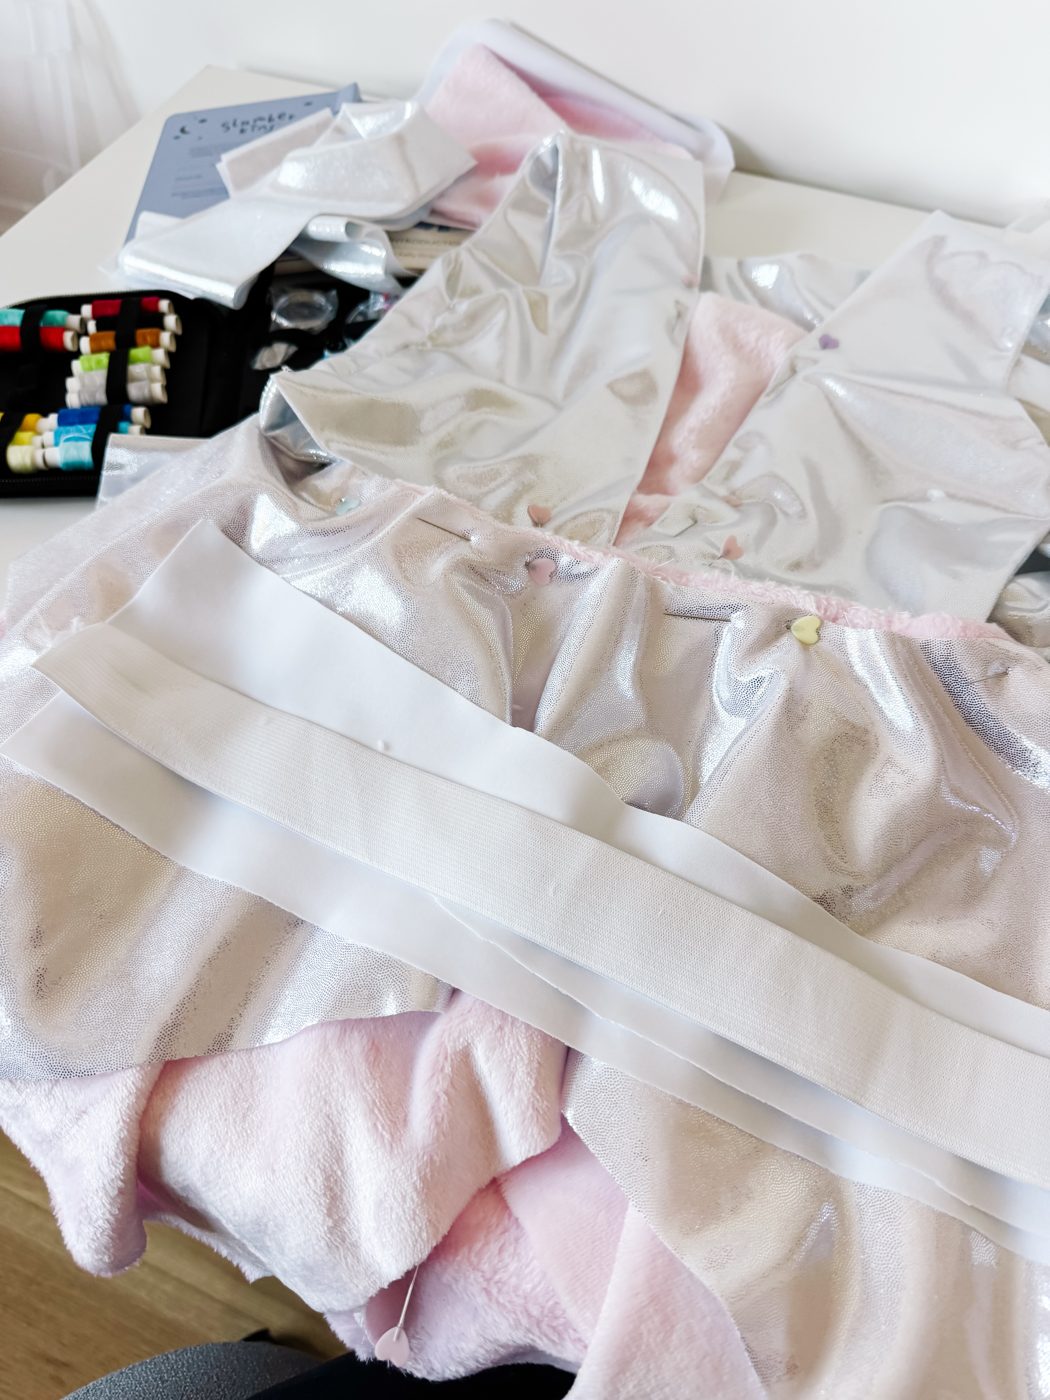
Lay the pink layer under the silver one and cut both hems into long uneven points — that jagged edge is what makes the skirt read as witchy rather than as a party dress. Let the pink layer sit slightly longer than the silver so both colours show when she spins.
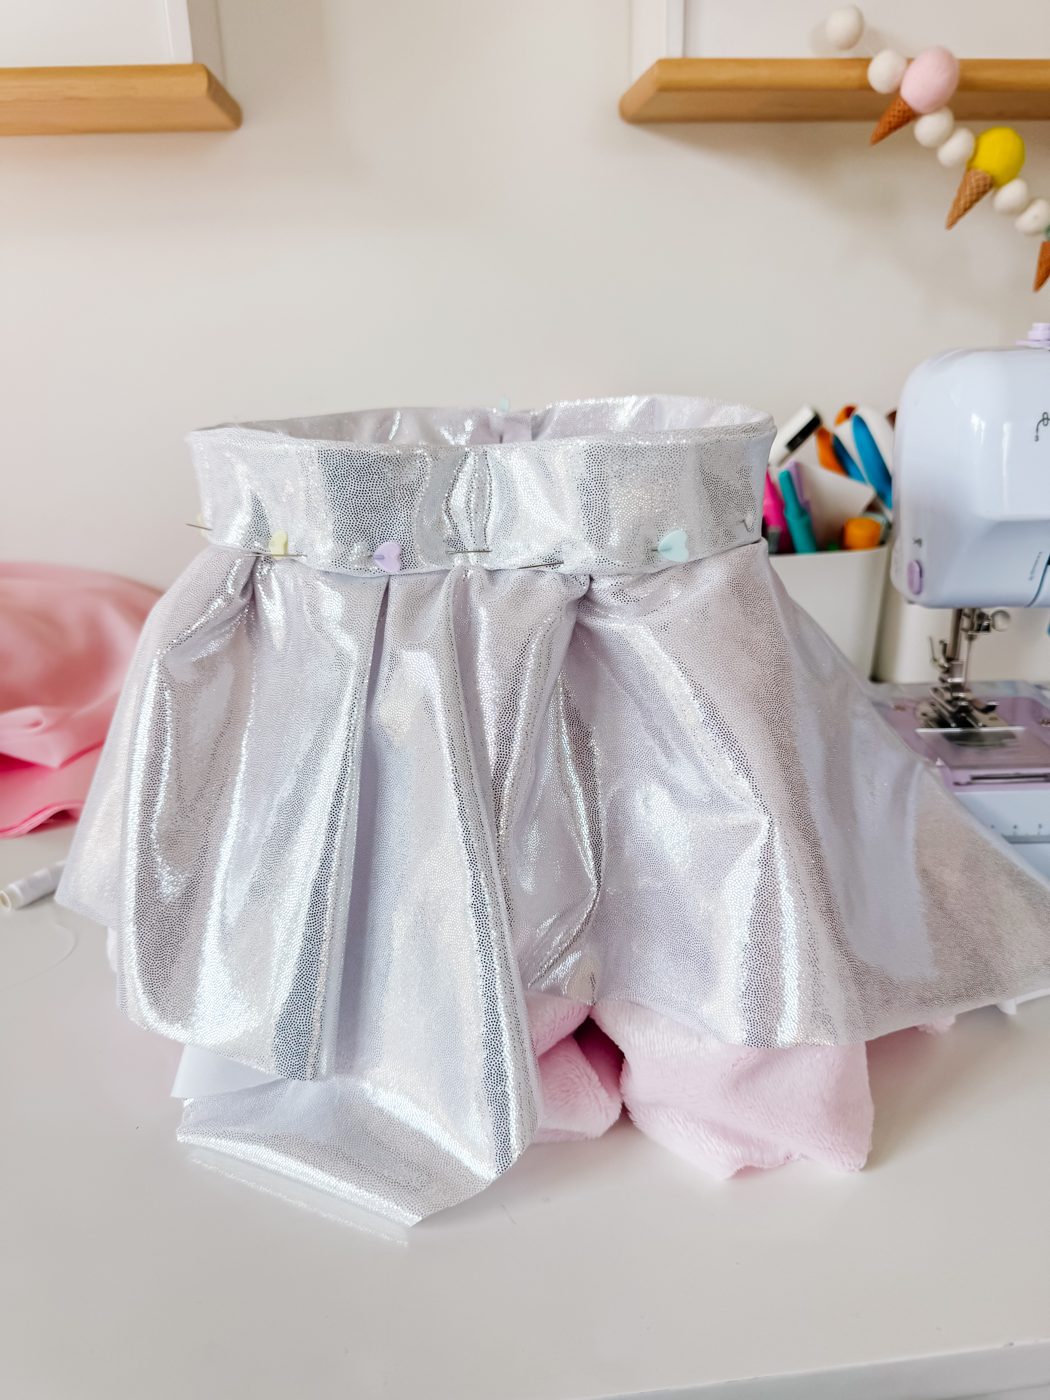
Match the centre front and centre back of the skirt circles to the bodice, gather any excess evenly, and stitch the skirt on at the waist. A straight band of silver sparkle fabric stitched over the join covers the seam and gives the waist a clean line, as shown here.
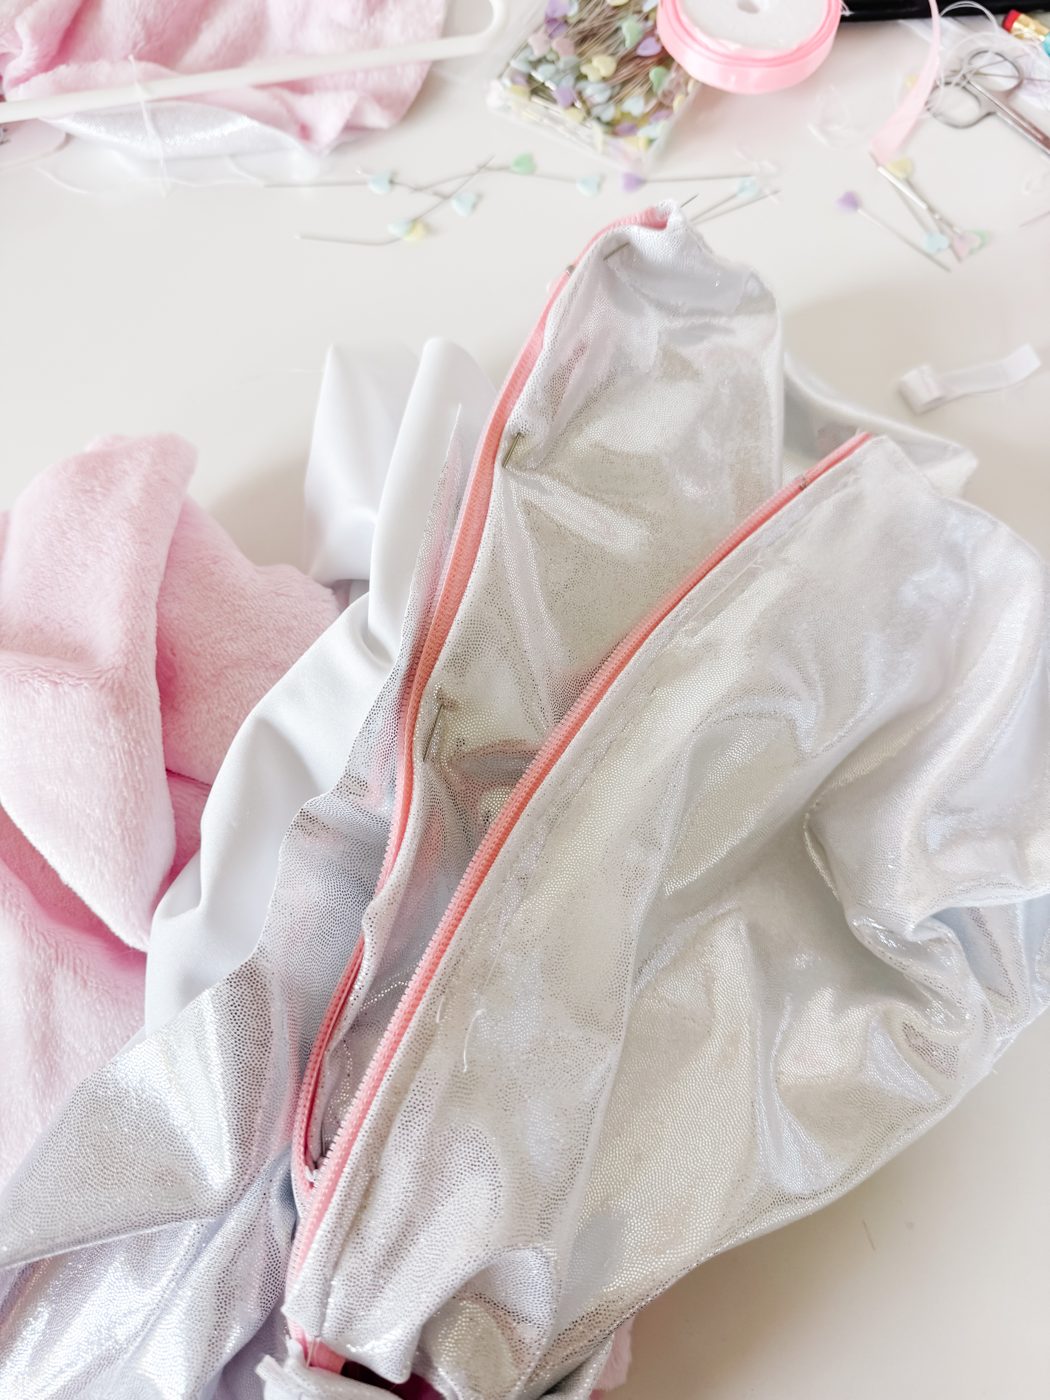
We closed the back with a centre-back zip so the fitted bodice stays put through a whole evening of trick-or-treating. A zip is the tidiest option, but hook-and-eye tape or a lapped opening with snaps works if you would rather not set a zip.
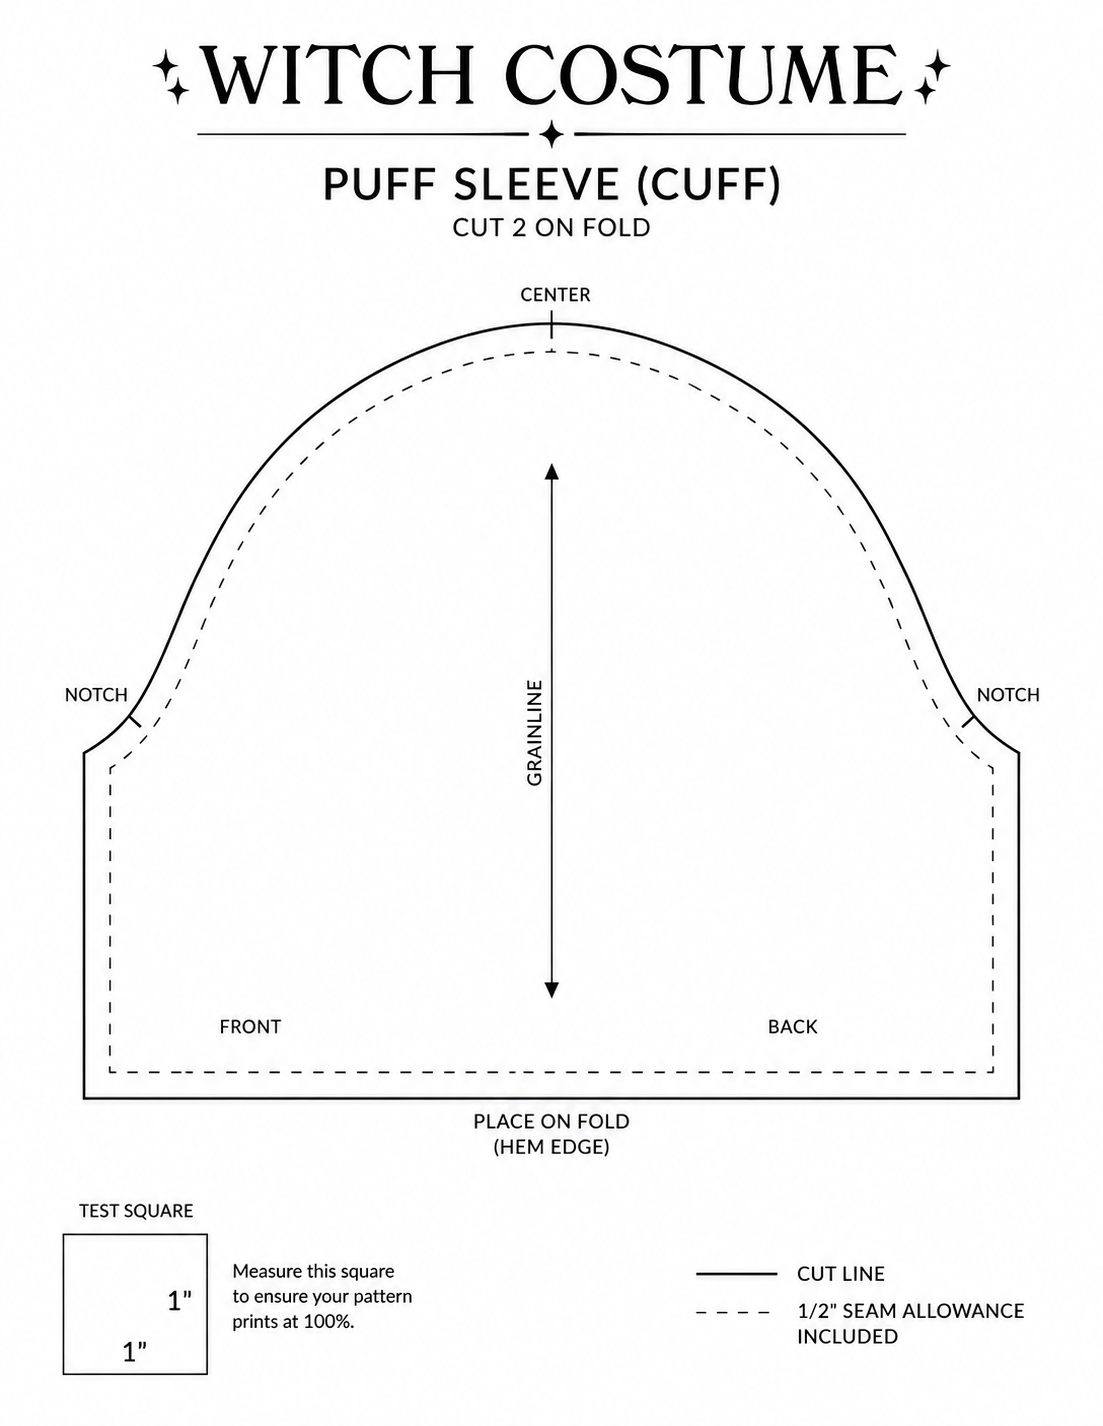
The puff sleeve starts as a single paper piece: a tall dome that is much wider than the arm. The extra width across the middle is the puff — the wider you draft it, the rounder the finished sleeve. Draft one, cut it in scrap fabric first if you are unsure, then cut your paper master.
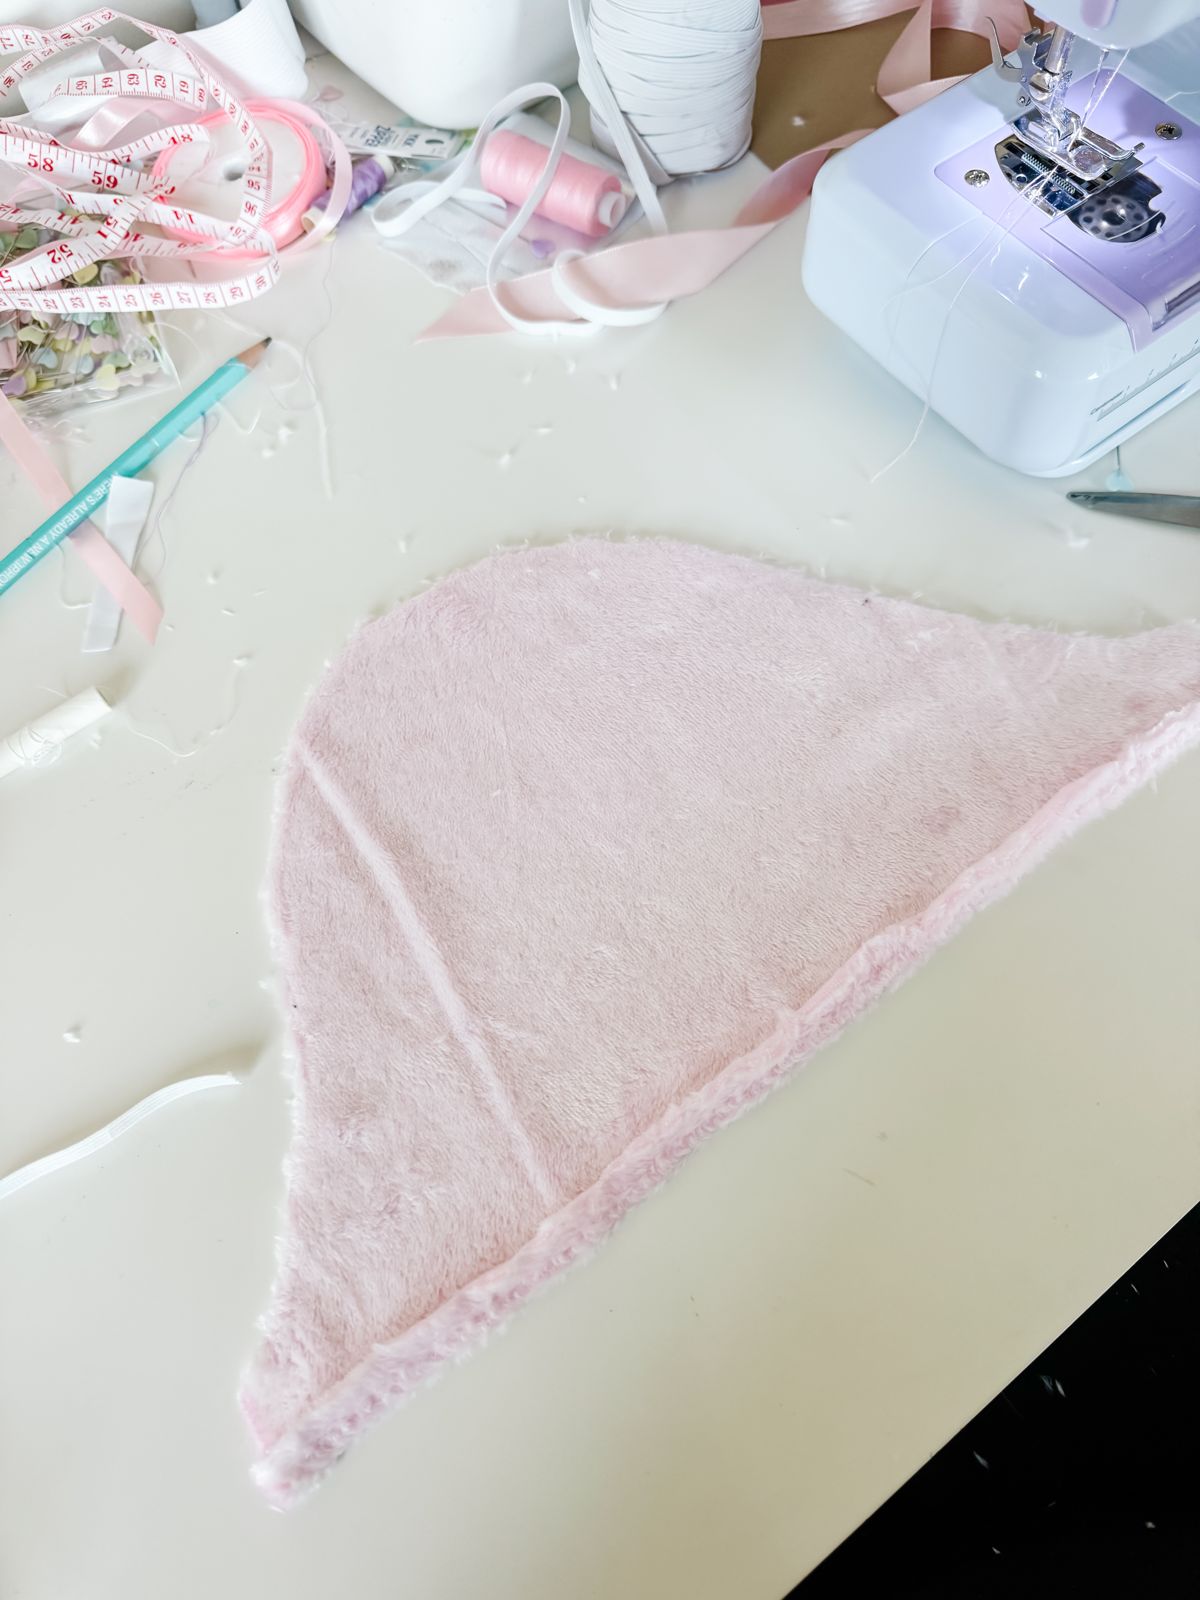
Cut two sleeves from the soft pink fabric using the paper piece, then sew each one into a tube by joining the straight underarm edges. Here the seam is done and the sleeve is lying flat, ready for its elastic.
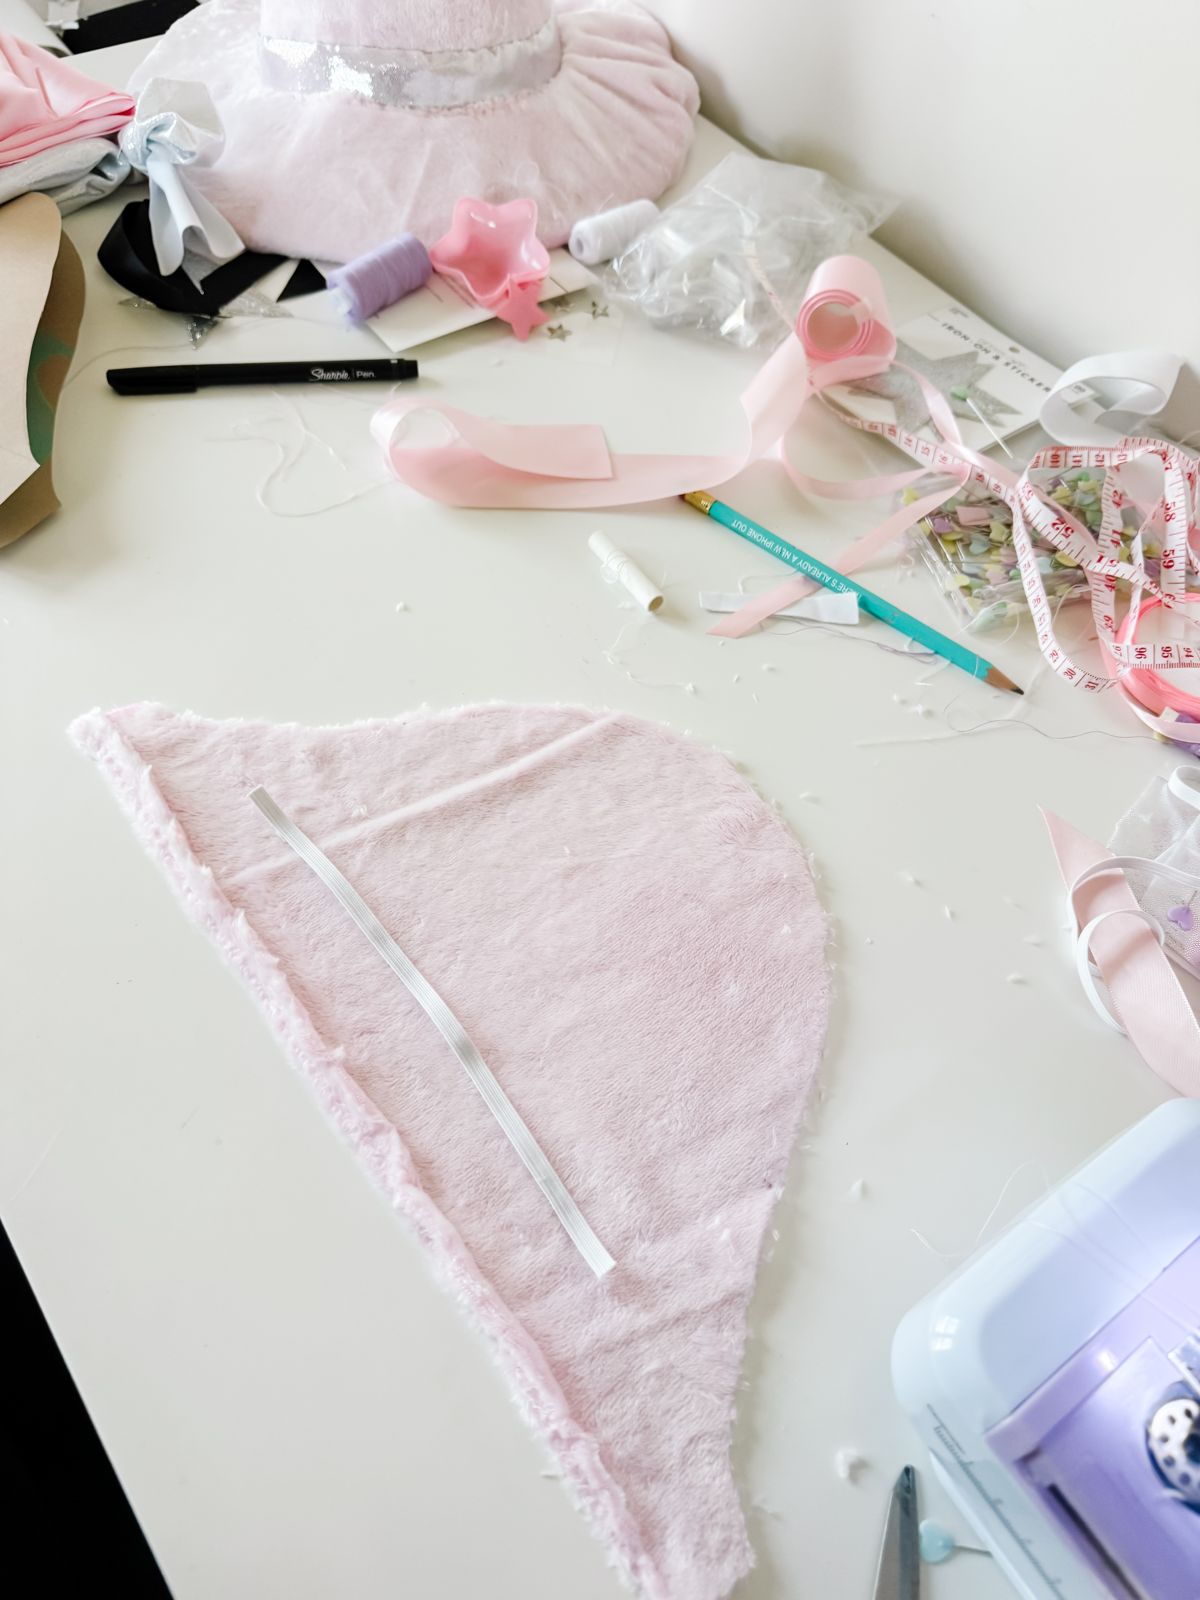
Fold the lower edge of the sleeve to the inside to make a channel and stitch it down, leaving a small gap. Thread sewing elastic through the channel with a safety pin — you can see the elastic running along the lower edge in this photo.
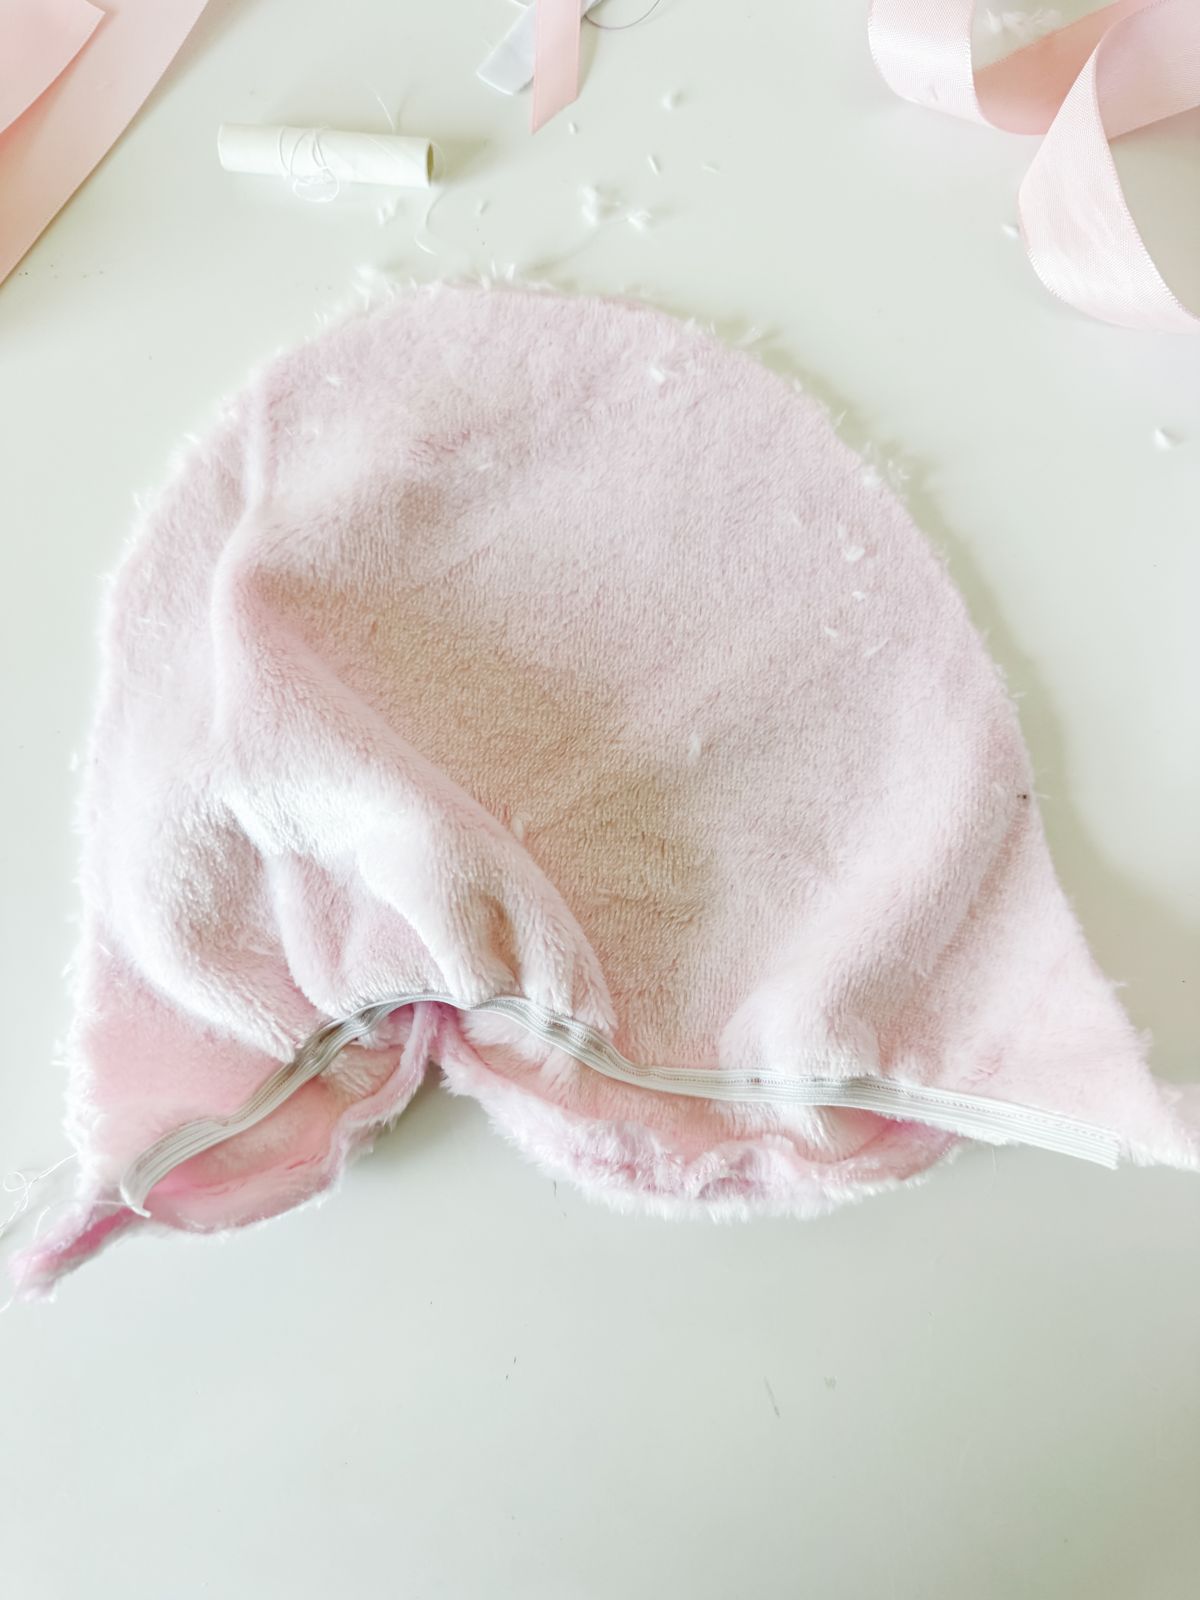
Pull the elastic up until the opening fits comfortably around your child's upper arm, secure the ends, and gather the top edge of the sleeve as well. The sleeve immediately springs into the round puff shape you can see here. Make the second sleeve to match.
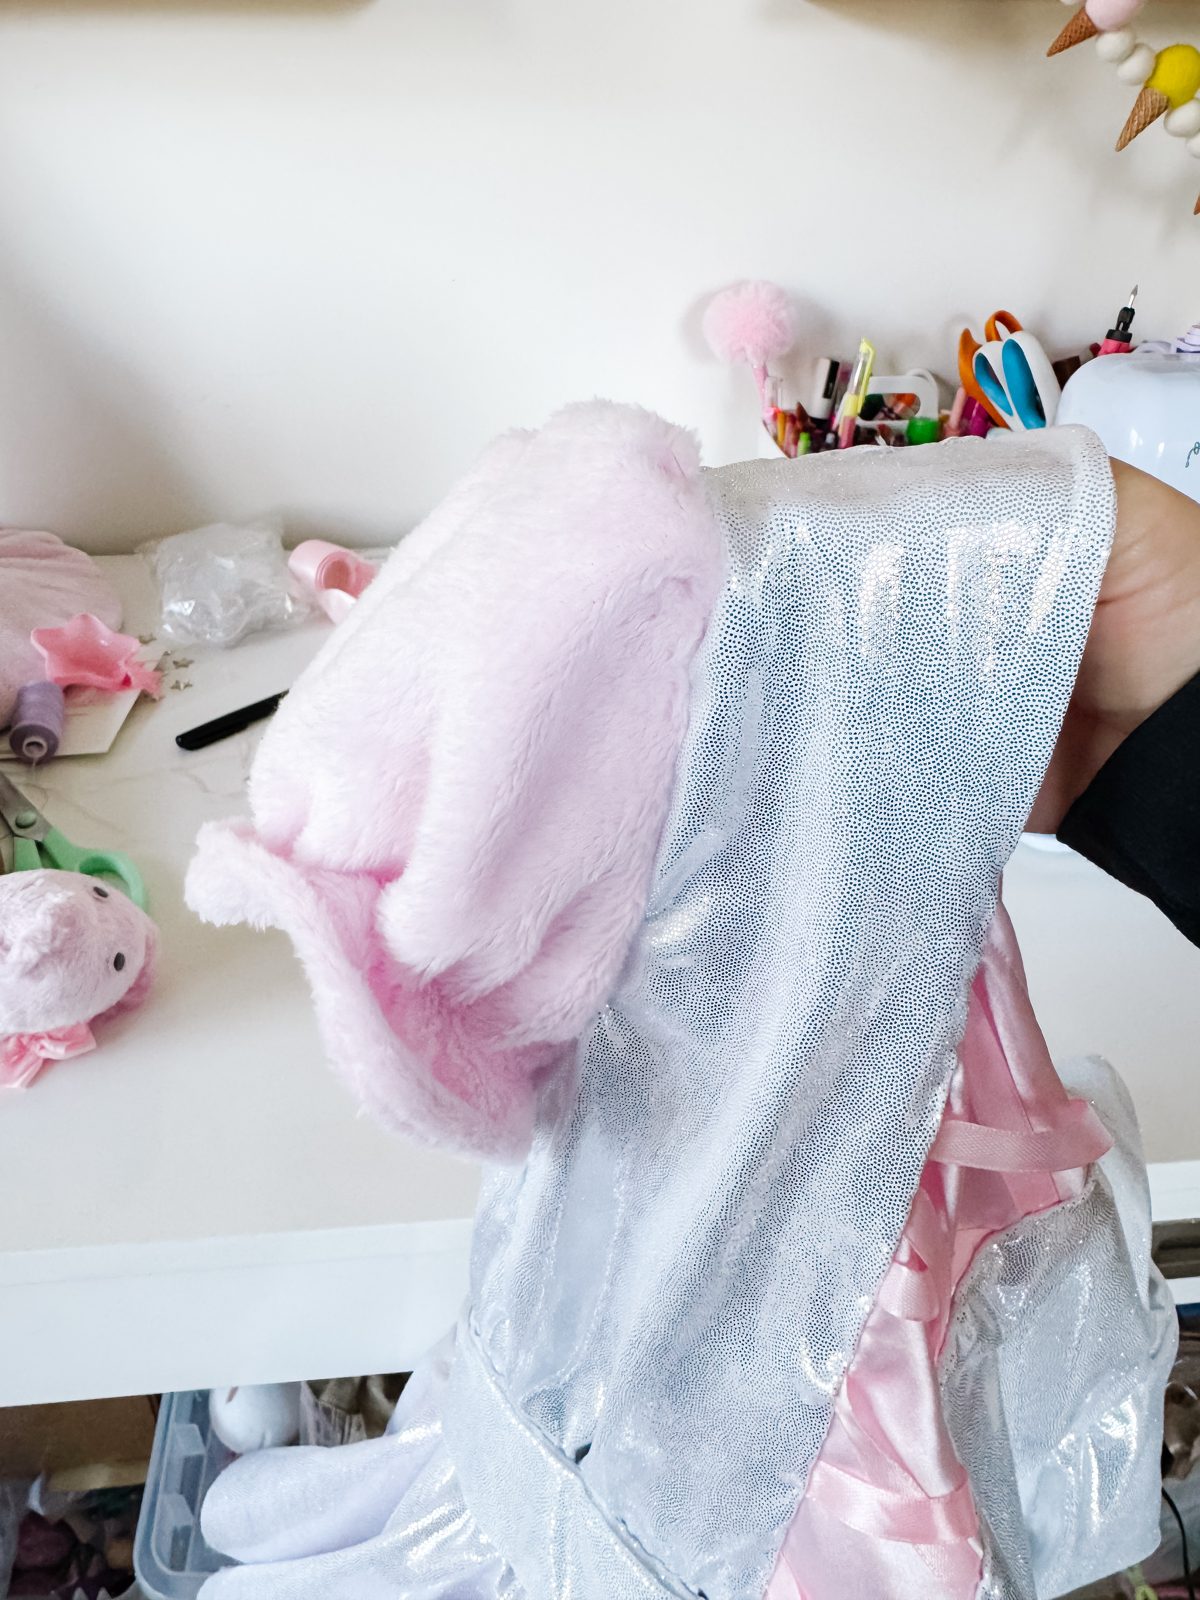
Pin each puff into its armhole with the gathers spread evenly and the underarm seam matching the bodice side seam, then stitch. Check the pair against each other before you sew the second one — puffs are very good at ending up different sizes.
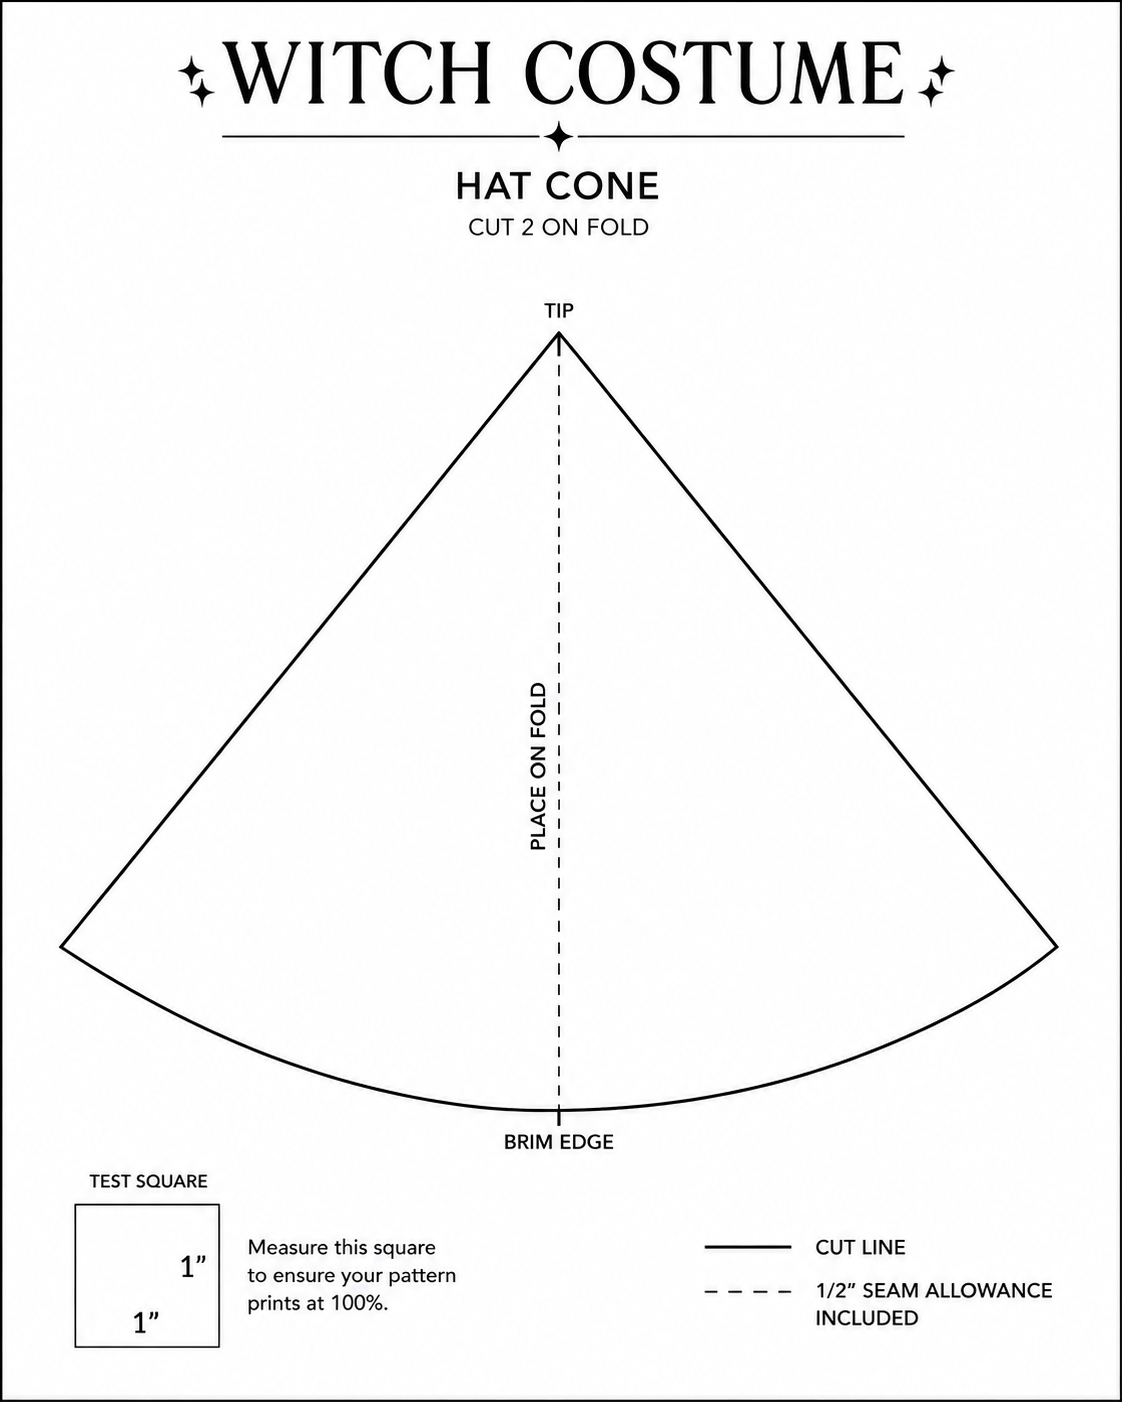
Measure around your child's head, then draft a wide quarter-circle cone that will close to that measurement at the bottom. Cut it in the soft pink fabric with a sateen lining, sew the long seam, and turn it right side out. Ours is deliberately soft rather than stiffened, so the point flops over.
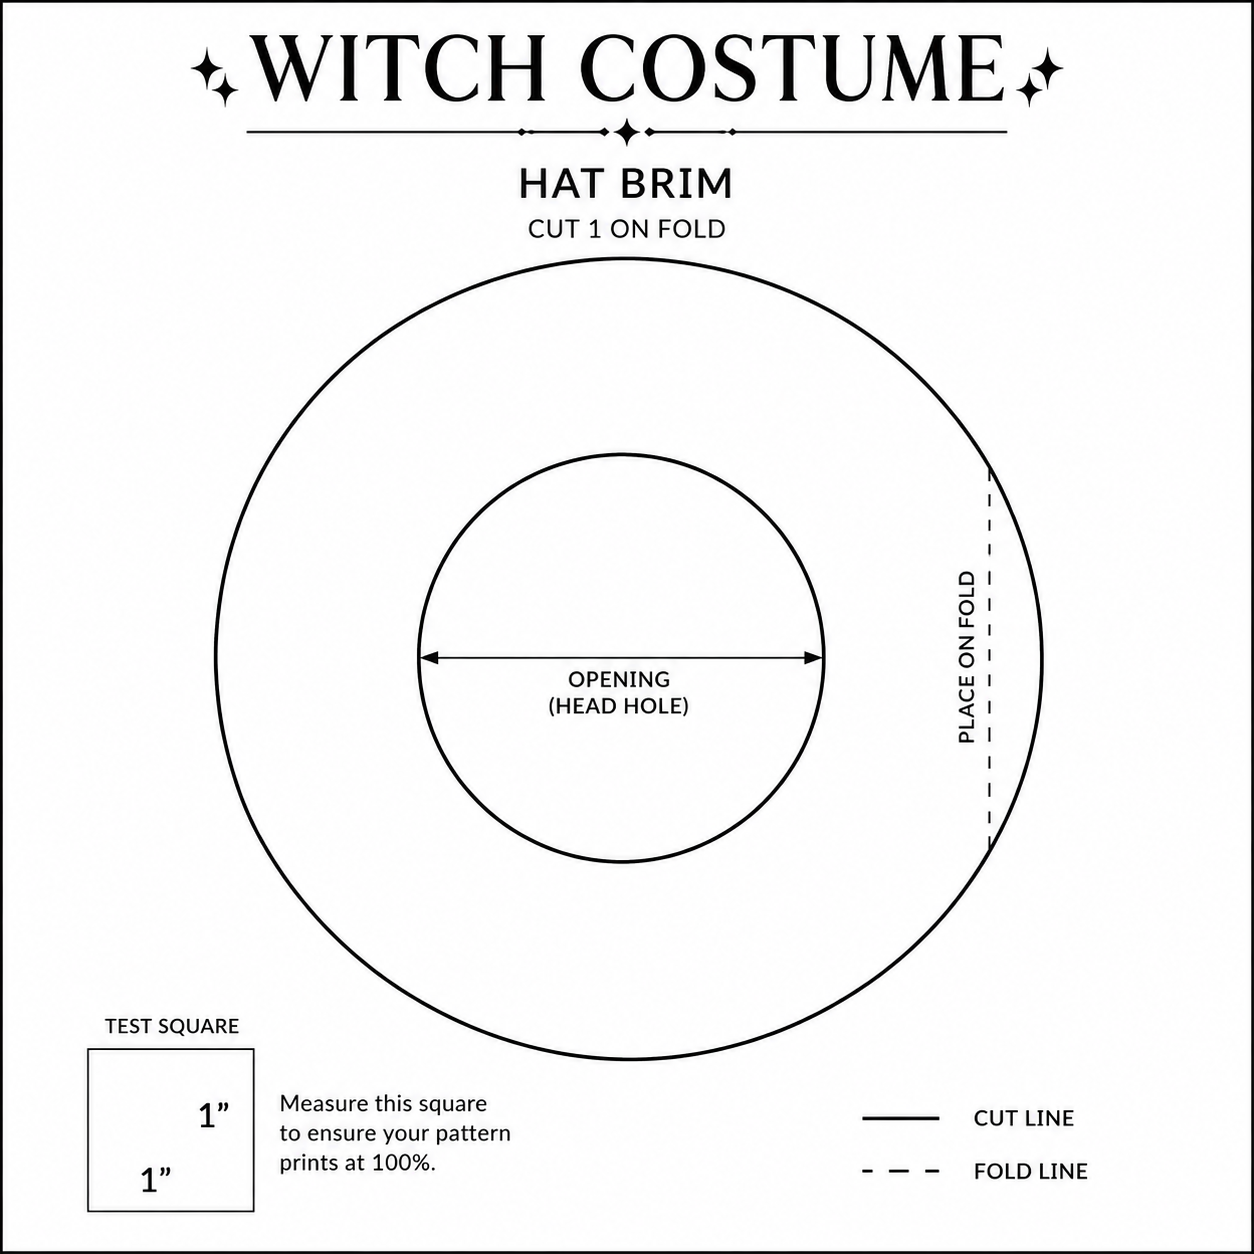
Cut two brim circles with an inner opening the same size as the base of the cone, stitch them together around the outer edge, turn and press. Slot the cone into the opening, stitch all the way around, then tie a 1.5" pink satin ribbon bow at the join to cover the seam — the finished result looks like this.
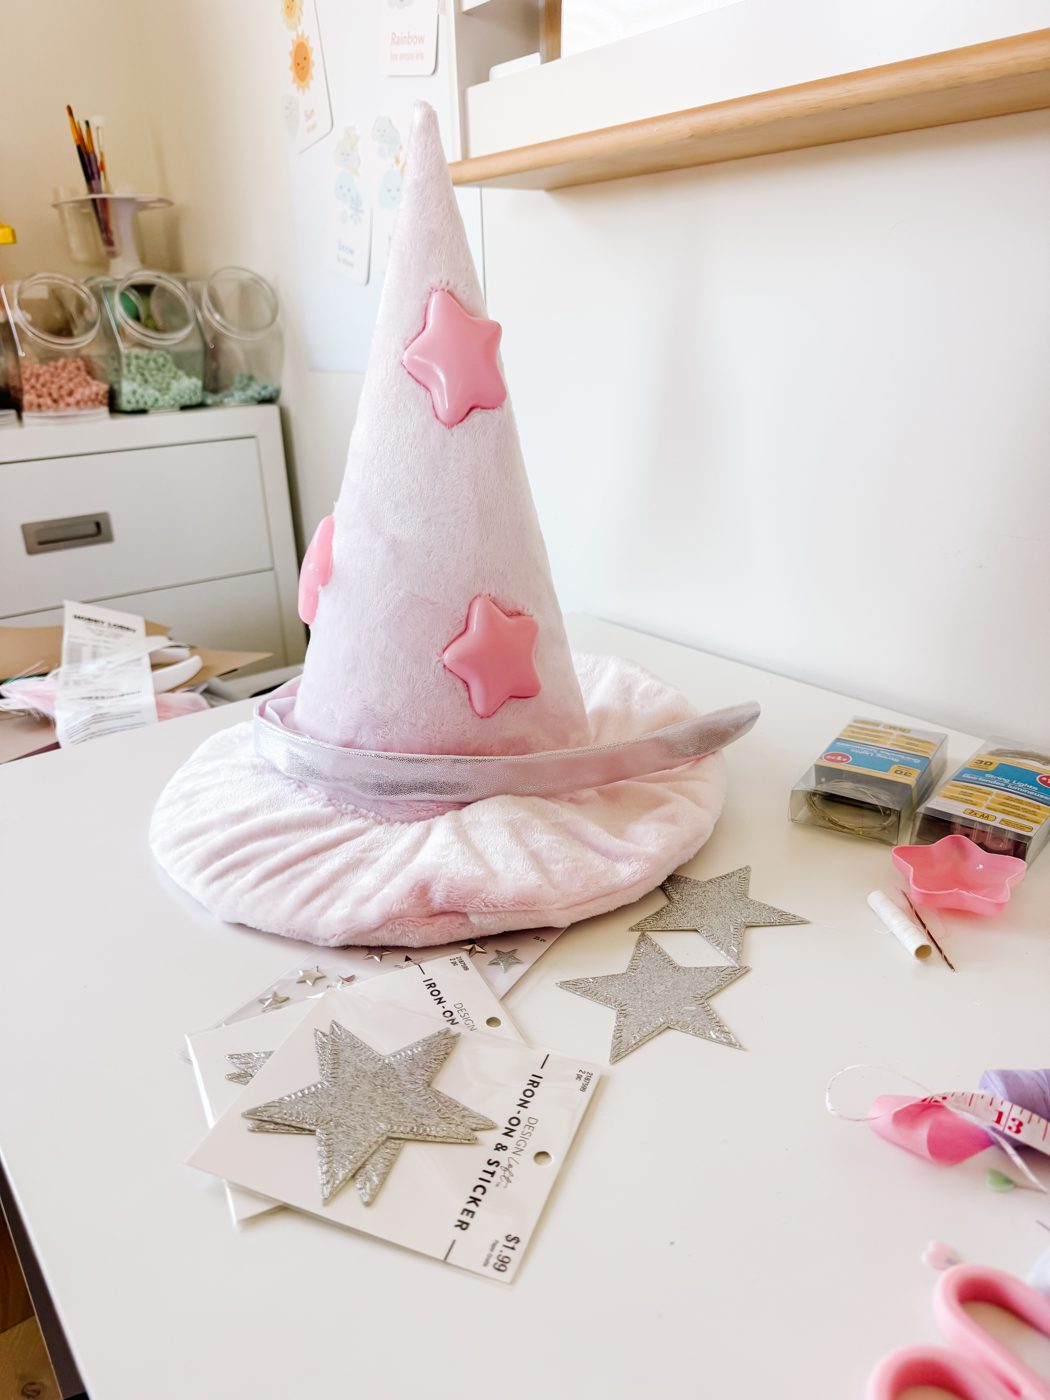
Place pink and silver sparkly star patches up the cone, scattering them so they look as though they are drifting rather than sitting in a line. Stitch or fuse them on securely, and add a few soft pink ball-pit stars for dimension where you want extra glow.
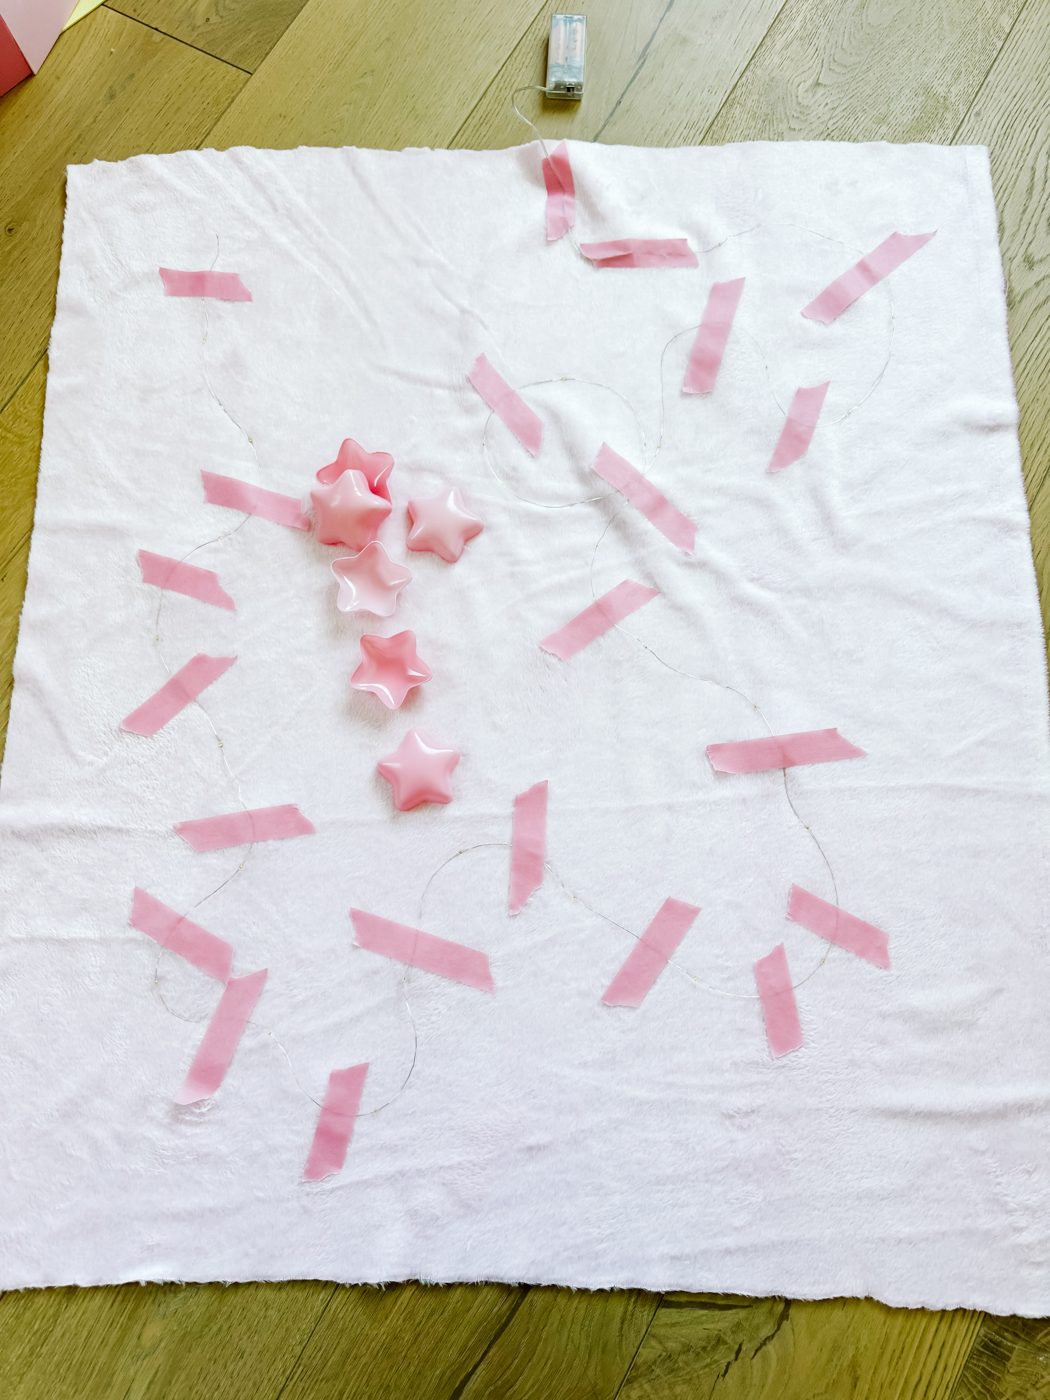
Cut a rectangle of the soft pink fabric to the cape length you decided at the start, hem the edges, and add two lengths of 1.5" pink satin ribbon at the top corners to tie at the neck. Here the cape is laid out flat with its ribbon ties before the stars go on. Then attach stars across it as you did on the hat.
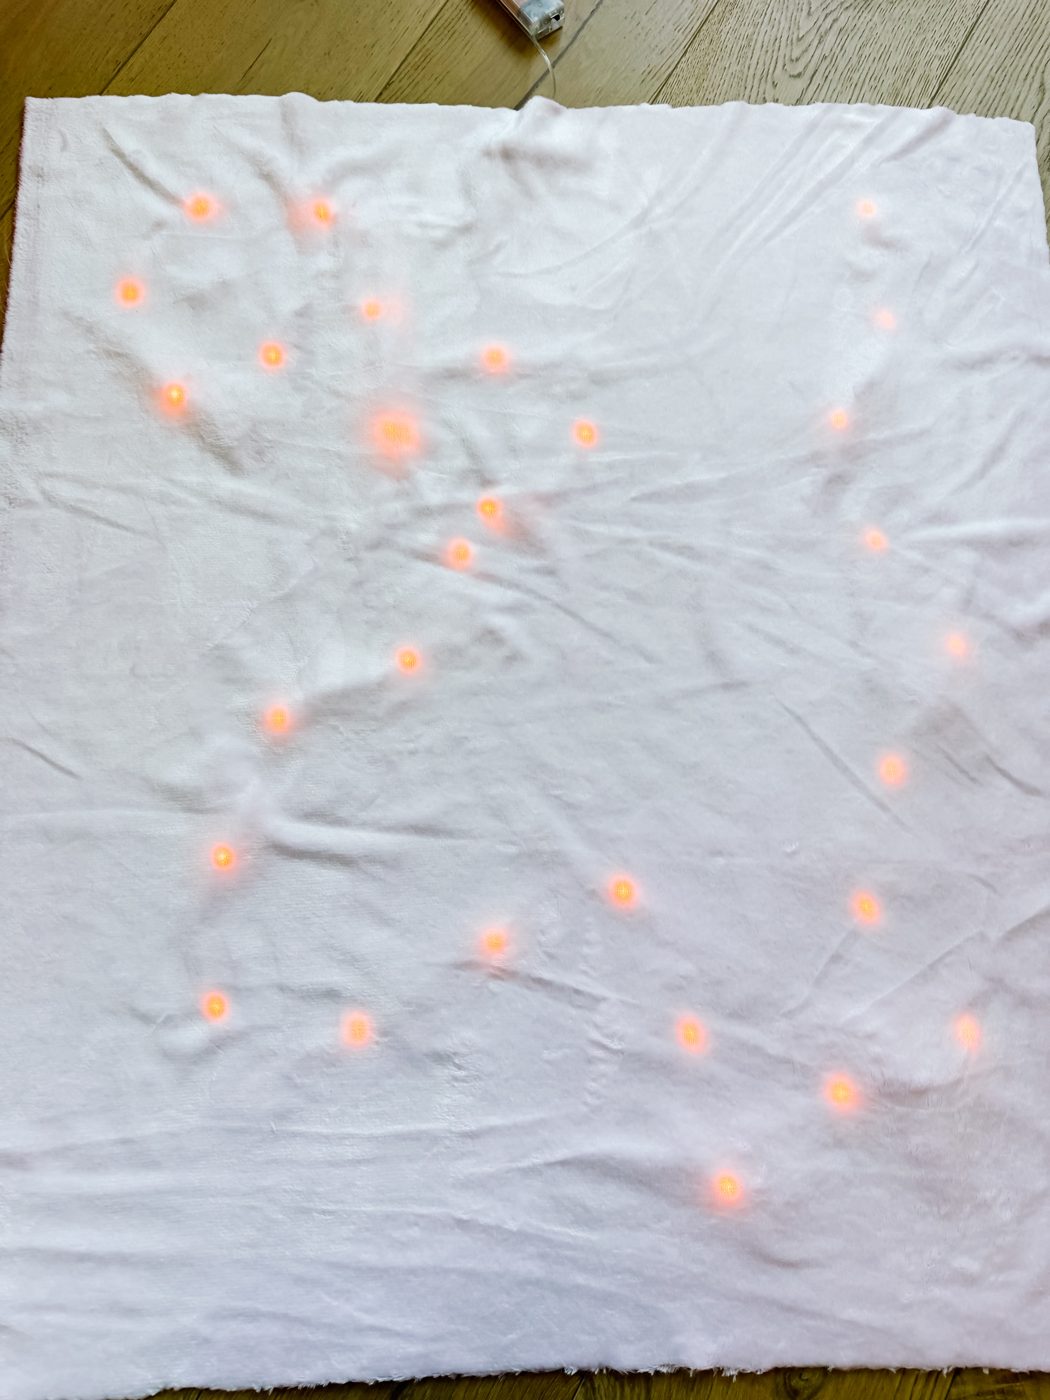
Thread the battery-powered fairy lights along the inside of the cape (and up inside the hat if you want both to glow), tucking the wire behind the star patches so it is hidden and tacking it down every few inches. Keep the battery pack in an easy-to-reach spot so it can be switched off, and follow the light manufacturer's instructions.
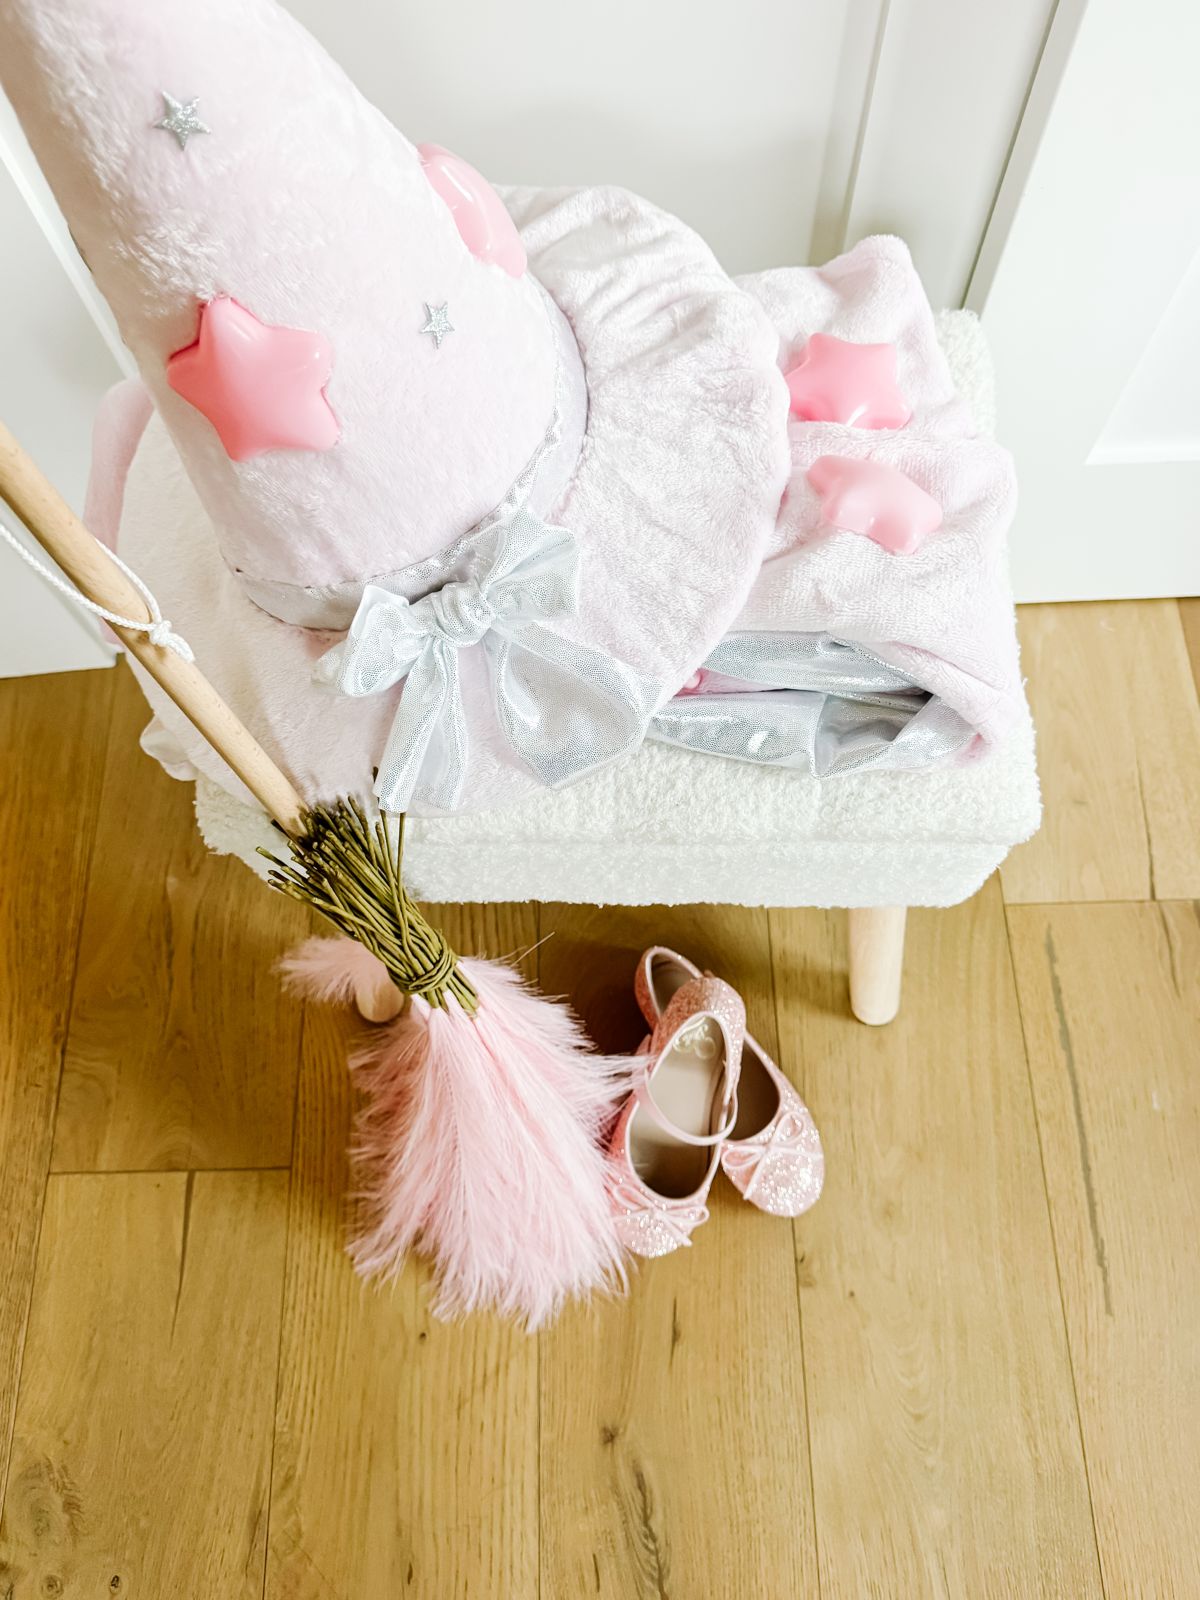
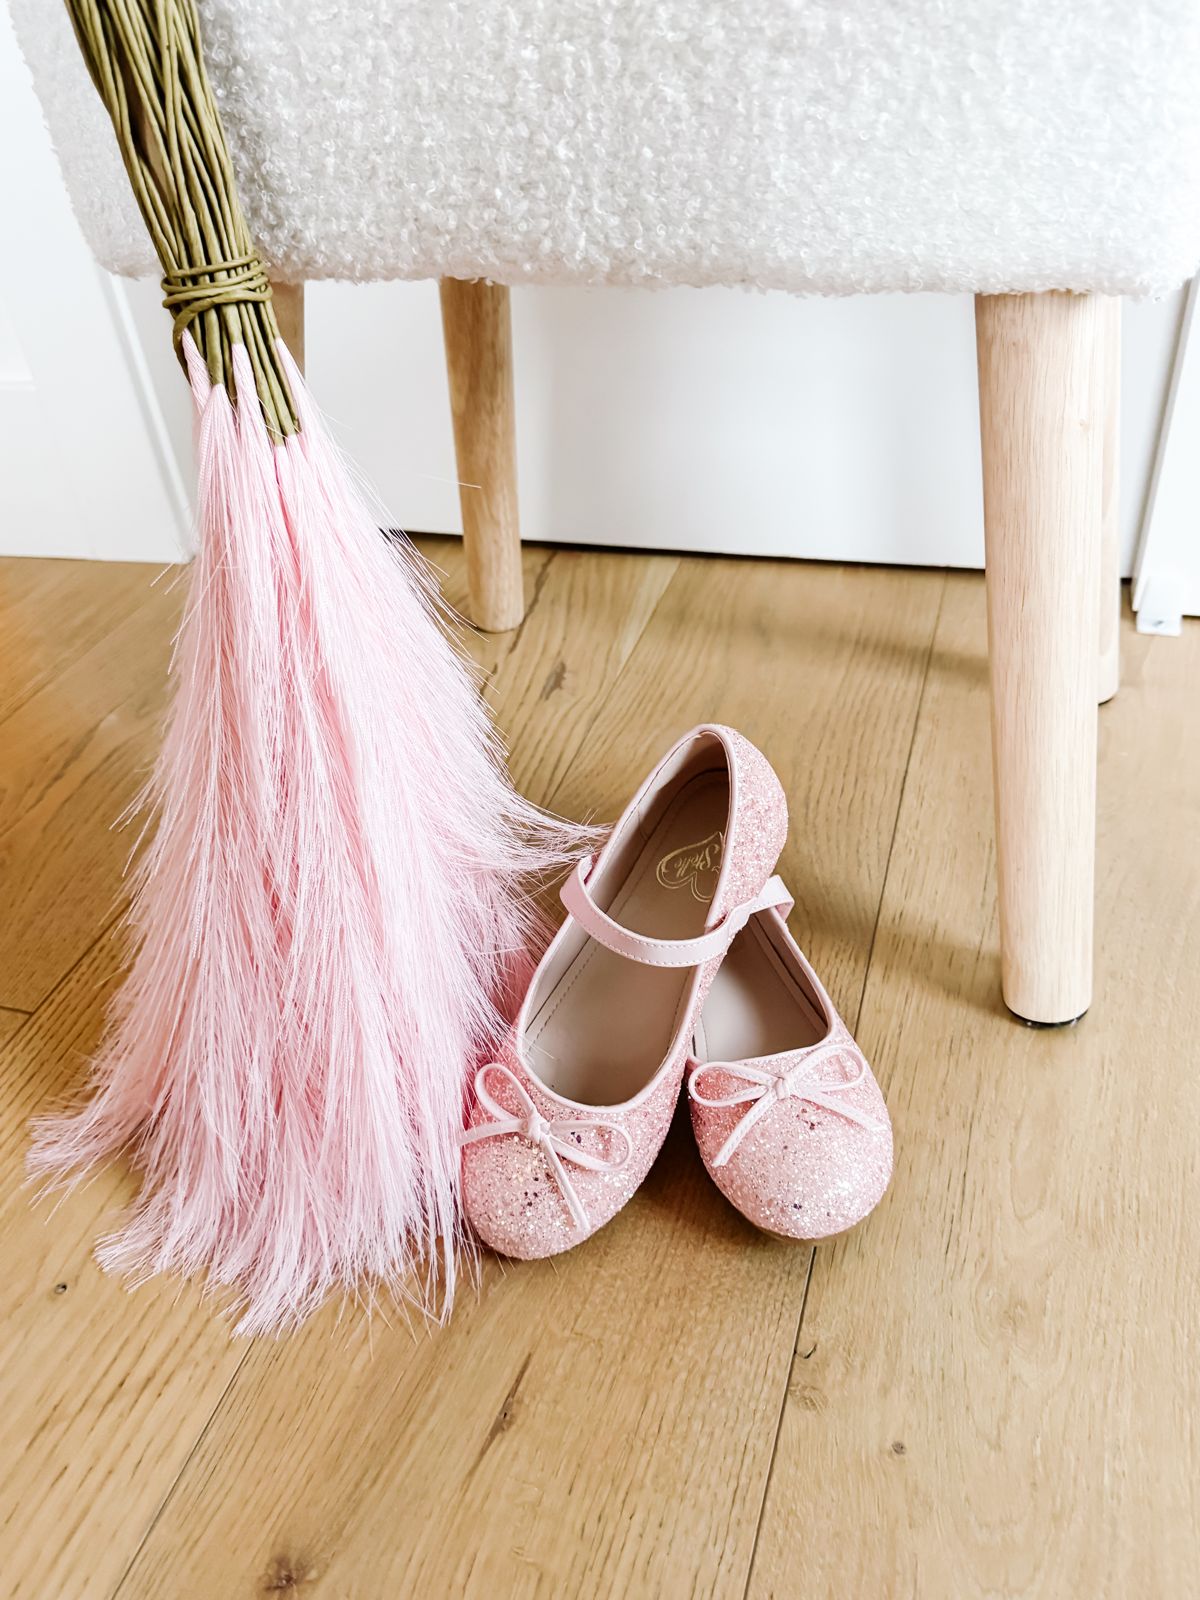
Finish with pink sparkly flats and a broom made from pink faux pampas grass tied to a stick. Switch the lights on, let her try the whole thing on together, and adjust the hat and cape ties so nothing slips while she runs.
A handmade costume invites character, voice and story long after Halloween night.
Watching a flat piece of fabric become a real garment shows children that things are made, not just bought.
what kind of magic does your witch do?
where do you think the stars came from?
what should we name your broom?
Same setup, different challenge.
The costume reads beautifully without them — the sparkle fabric already catches light.
Swap the pointed hat for a flower crown and the broom for a wand and the same pattern becomes a fairy.
Use a plain pink dress your child already owns and make only the hat and star cape.